RAID, or Redundant Array of Independent Disks, is a storage method that combines multiple drives to improve performance, redundancy, or both. While the term might sound technical, understanding RAID is essential if you manage servers, business systems, or advanced home setups.
Each RAID type, also called a RAID level, has unique advantages and trade-offs. Some prioritise speed, others focus on data protection, and some aim to balance both. Knowing the differences helps you select the right configuration for your specific needs.
In this guide, we’ll break down the most common RAID types, explain how they work, and highlight when each is typically used. By the end, you’ll have a clear understanding of which RAID configuration best suits your environment.
What Are RAID Types and Levels?
RAID types, often referred to as RAID levels, describe the different ways multiple hard drives can be combined into a single system. Each type uses its own method of organising data across drives, focusing on speed, redundancy, or a balance of both.
You may also see the terms RAID configuration or RAID array used interchangeably. These describe the same concept: the specific setup chosen to manage and protect data.
Understanding the differences between RAID types helps you align storage setups with your priorities. Some levels are optimised for performance, while others are designed to safeguard data if a drive fails.
RAID 0 – Maximum Speed, No Protection
RAID 0 stripes data across two or more drives, allowing files to be read and written simultaneously. This parallel process delivers excellent speed and makes full use of combined storage capacity.
The trade-off is risk. RAID 0 provides no redundancy, meaning if a single drive fails, all data is lost. Every file depends on all drives working together, so reliability is not part of this setup.
Best for: Scratch disks, temporary project storage, or gaming systems where fast load times matter more than protection.
RAID 1 – Mirroring for Reliability
RAID 1 stores the same data on two or more drives, a process known as mirroring. If one drive fails, the other contains an exact copy, keeping the system running without data loss.
The advantage of RAID 1 is reliability. It provides strong protection against drive failure, making it a common choice for critical systems. The trade-off is reduced efficiency because half of the total storage capacity is used for duplication.
Best for: Servers, workstations, and environments where uptime and data safety are prioritised over speed or capacity.
Fast turnaround times for business-critical data
RAID 5 – Balanced Performance and Protection
RAID 5 uses striping with parity, spreading both data and recovery information across all drives. This allows the system to keep running even if one drive fails.
Its strength is balance. RAID 5 offers improved read performance, efficient use of capacity, and redundancy against a single failure. The drawback is slower write speeds, since parity must be calculated whenever data is written.
Best for: Business systems, file servers, and environments that need both speed and protection without sacrificing too much storage.
RAID 5:
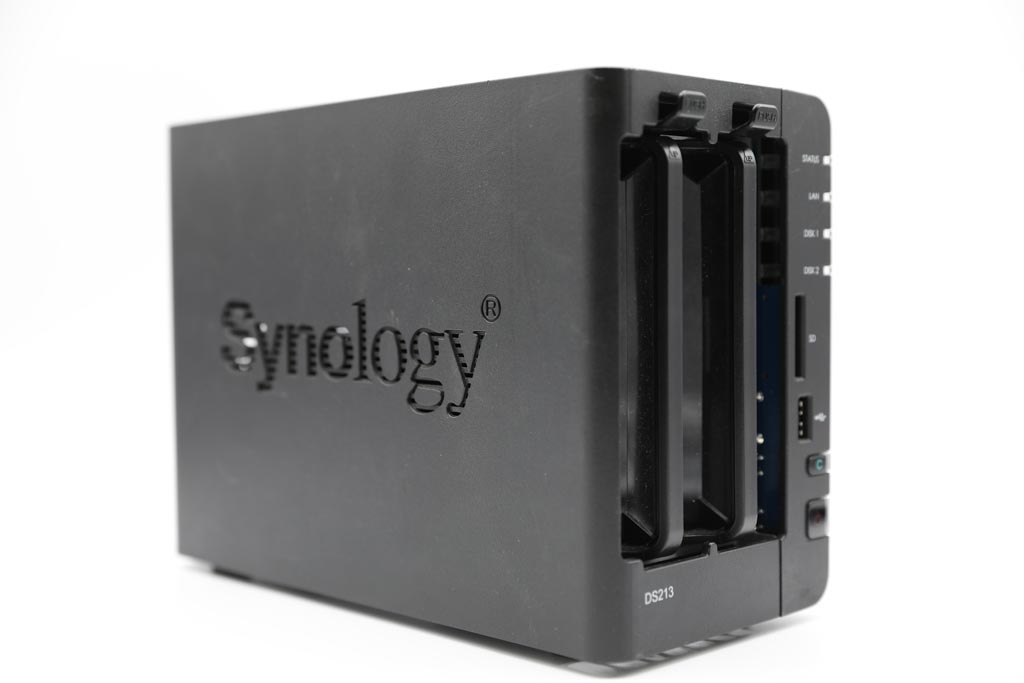
- Synology DiskStation DS1825+
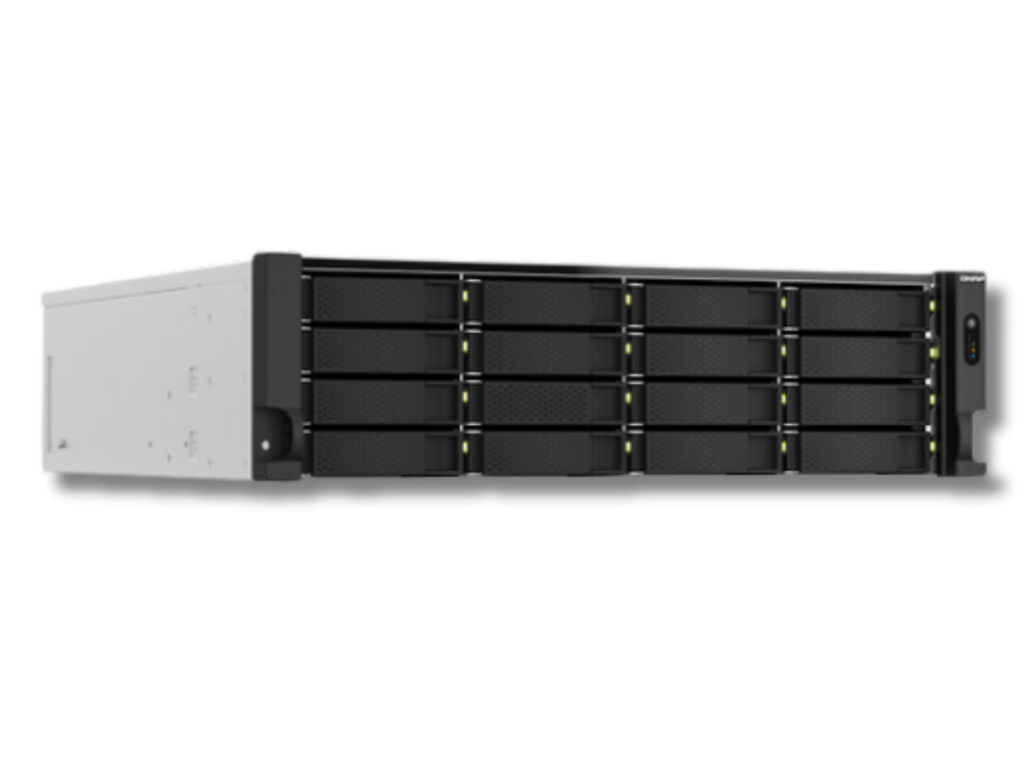
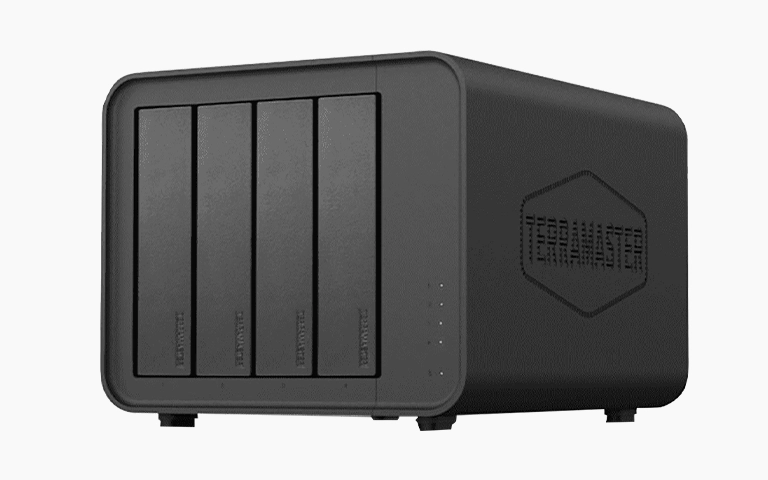
- TerraMaster U8-722
RAID 6 – Extra Fault Tolerance
RAID 6 works much like RAID 5 but adds a second layer of parity. This allows the system to withstand the failure of two drives without losing data.
The benefit is stronger fault tolerance, but the trade-offs are reduced storage efficiency and slower write speeds due to double parity calculations.
Best for: Large storage systems where protecting data is critical, such as enterprise environments, backup servers, or systems with many drives.
Want a deeper comparison? Read our guide on RAID 5 vs RAID 6.
RAID 10 – Performance and Reliability Combined
RAID 10 (RAID 1+0) merges RAID 0 and RAID 1. Data is mirrored across pairs of drives and then striped for speed.
The advantage is balance: faster reads and writes than RAID 5 or RAID 6, plus redundancy through mirroring. The drawback is efficiency, as half the total capacity is used for duplication.
Best for: Databases, virtualisation, and systems that demand both speed and reliability.
RAID 10:
- TerraMaster U8-722
- Synology DiskStation DS1825+
JBOD and Other RAID Variations
JBOD (“Just a Bunch of Disks”) is often grouped with RAID but is not technically a RAID level. It simply combines multiple drives into one large volume. Capacity is maximised, but there is no redundancy or speed gain. If a drive fails, only data on that drive is lost.
Other levels such as RAID 2, 3, and 4 were early designs with limited efficiency and are rarely implemented today.
Advanced environments may use nested setups like RAID 50 or RAID 60, which combine striping and parity across multiple groups for greater speed and protection. These are common in enterprise systems managing heavy workloads.
If you want a detailed comparison, read our guide on RAID 50 vs RAID 60.
Learn more about how JBOD works in our guide on What is JBOD.
Choosing the Right RAID Configuration
The right RAID setup depends on your workload and goals. Each comes with trade-offs between performance, protection, and efficiency.
Factors to consider:
- Performance needs – Do you require fast read/write speeds for large files or real-time applications?
- Data protection – How important is redundancy in case of drive failure?
- Storage efficiency – Do you need maximum usable space, or is safety worth the capacity trade-off?
- Budget and hardware – More complex RAID levels require more drives, raising costs.
- Scalability – Will your storage needs grow, and can the chosen configuration expand with them?
For long-term insights, see our guide on RAID Failure Rate.
Conclusion
RAID provides multiple ways to organise drives, each with its own strengths and drawbacks. RAID 0 offers speed, RAID 1 prioritises reliability, RAID 5 and RAID 6 balance performance and protection, and RAID 10 combines both at higher hardware cost. JBOD and advanced levels like RAID 50 or 60 are better suited to specialised enterprise setups.
The best choice depends on your priorities—whether that’s performance, redundancy, or efficient storage use. A clear understanding of RAID types makes it easier to choose the right configuration for your system.
If you run into problems with your RAID, RAID Recovery Services can help with professional diagnostics and recovery. Our engineers handle every RAID level and provide safe, effective solutions when failures occur.
Trust the experts with proven results