In this real-world case study, we examine a complex data recovery scenario involving a QNAP NAS configured with an eight-drive RAID 5 array managed through mdadm, the Linux software utility for advanced RAID management.
This case demonstrates the critical importance of professional intervention during RAID failures, particularly when dealing with thin-provisioned volumes and physically compromised drives.
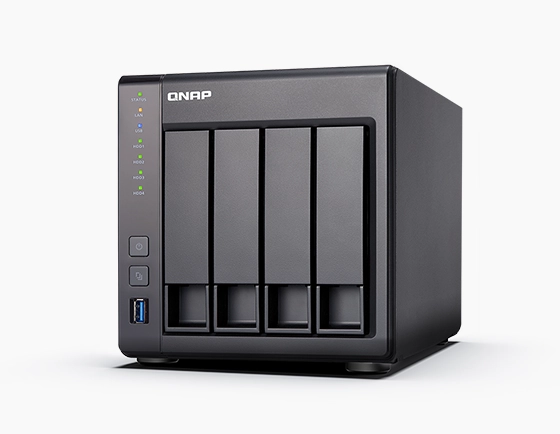
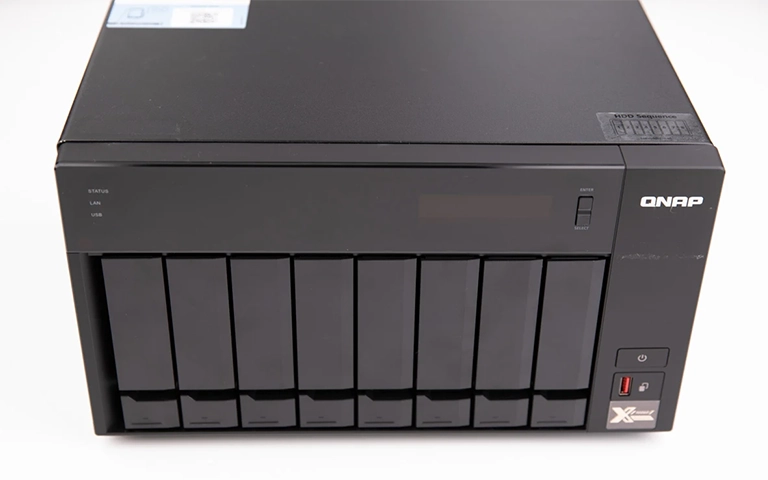
The Setup: QNAP NAS with Thin-Provisioned RAID 5
Our client, a private research institution, operated a high-performance QNAP NAS for storing vital research data. The configuration was as follows:
RAID level: RAID 5
Drive count: 8 × 4TB HDDs
Usable capacity: Approximately 28TB
Volume type: Thin-provisioned
Management: Linux-based mdadm utility
The NAS contained years of irreplaceable scientific material, including structured data libraries, experimental datasets, and research documentation.
The Problem: Two Simultaneous Drive Failures
The RAID 5 volume failed after two drives went offline simultaneously:
Drive 1: Emitted a distinct clicking sound, consistent with a mechanical head failure
Drive 2: Exhibited a rapidly increasing number of bad sectors
Before contacting our team, the client attempted a RAID rebuild without first creating forensic images of the drives — a common but often disastrous mistake. A rebuild operation exerts significant read stress on all remaining drives, frequently worsening existing faults.
In this case, the rebuild attempt introduced parity inconsistencies, causing the QNAP NAS to mark the array as failed and rendering all data inaccessible.
Why RAID Rebuilds After Drive Failure Can Be Dangerous
Many IT administrators attempt to rebuild a degraded RAID 5 array immediately after replacing a failed disk — a decision that carries significant risk.
Clicking drives indicate physical damage and should never be included in a rebuild. For more details, see our article on clicking hard drive failure indicators.
Rebuild operations apply continuous read pressure across all remaining drives, which can easily trigger secondary or tertiary failures — especially in ageing arrays.
Skipping imaging before attempting a rebuild effectively puts the entire dataset at risk, as any new parity write can permanently overwrite recoverable data.
In this case, if the client had continued the rebuild process, the data loss would have been irreversible.
For a deeper explanation of these risks and professional mitigation strategies, explore our RAID Rebuild Data Loss Risks guide.
Our Data Recovery Process
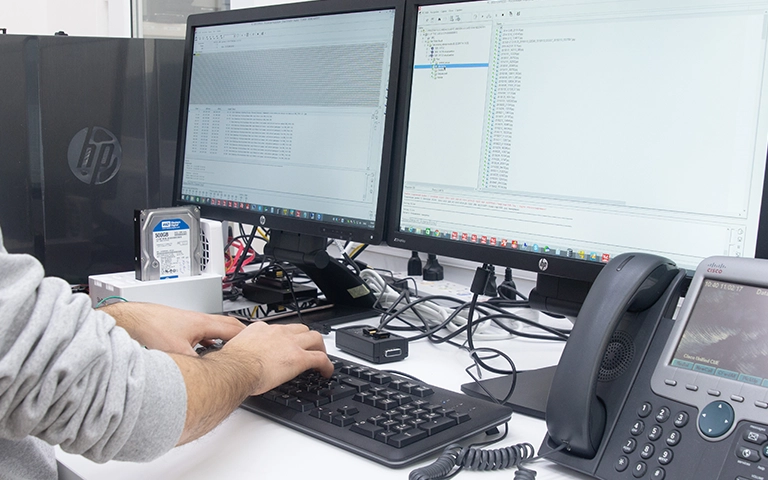
Upon receiving the QNAP NAS and all associated drives, our engineers implemented a structured, risk-controlled recovery process designed to maximise data integrity at every stage.
The clicking drive was diagnosed with a failed read/write head assembly. Inside our ISO-certified cleanroom, engineers performed a head replacement procedure, successfully restoring sector-level access to the drive’s platters.

All eight drives were imaged at the bit level, including the one affected by bad sectors. Our engineers utilised adaptive imaging systems that reattempted reads in multiple passes, ensuring the highest possible data capture rate from degraded media.
Using mdadm, the Linux utility for software-based RAID management, we:
Analysed RAID metadata extracted from the imaged drives
Manually reassembled the RAID 5 configuration, bypassing QNAP’s proprietary logic
Reconstructed striping, layout, and parity to restore the array’s logical integrity
Unlike standard storage, thin-provisioned volumes use a virtualised, space-efficient allocation model. Using our proprietary recovery utilities, we:
Identified and mounted the thin-provisioned layer
Extracted logical volume details and precise block mappings
After mounting the reconstructed logical volume, we extracted the client’s entire research data library.
All folder hierarchies, metadata, and naming conventions were preserved, allowing effortless reintegration into the client’s production environment.
Fast turnaround times for business-critical data
Results
Yes, some high-end laptops support RAID configurations, especially gaming laptops and business-class models from Dell, HP, ASUS, and Lenovo.
RAID 5 Array: Successfully reconstructed and verified
Volume Type: Thin-provisioned volume mounted and accessed
Data Recovered: 100% of user data, including proprietary research archives
Turnaround Time: Completed within five business days from receipt to delivery
Lessons from This Case
Never attempt a RAID rebuild before imaging all drives — doing so risks overwriting valuable data.
Clicking or mechanically damaged drives must always be handled in a certified cleanroom.
Thin-provisioned RAID environments require specialised recovery tools and deep technical expertise.
mdadm is a highly capable Linux utility, but should only be operated by professionals familiar with low-level RAID architecture and metadata reconstruction.

Facing a QNAP NAS failure?
Whether you are facing a dual-drive failure, an mdadm configuration issue, or an inaccessible thin-provisioned volume, professional intervention is crucial for a successful recovery.
Our engineers specialise in QNAP and Linux-based RAID recovery, applying industry-leading cleanroom procedures, forensic imaging, and logical reconstruction techniques to restore complex storage environments safely and efficiently.
Trust the experts with proven results
Frequently Asked Questions
Does my laptop support RAID?
Not all laptops support RAID functionality. You can verify compatibility by checking your BIOS settings or referring to the manufacturer’s technical specifications.
Can data be recovered from RAID 0?
Yes — however, RAID 0 recovery is highly complex and must be performed by qualified data recovery professionals to prevent permanent data loss.
Does RAID 1 completely prevent data loss?
No. RAID 1 protects against a single drive failure, but it does not safeguard against file corruption, deletion, or user error.
Is RAID faster than a single SSD?
RAID 0 and RAID 10 configurations can deliver faster performance than a standalone SSD. RAID 1, however, prioritises data redundancy over speed.
What is the best RAID level for laptops?
This depends on your priorities: choose RAID 1 for reliability and RAID 0 for performance. Always maintain regular external backups regardless of RAID configuration.