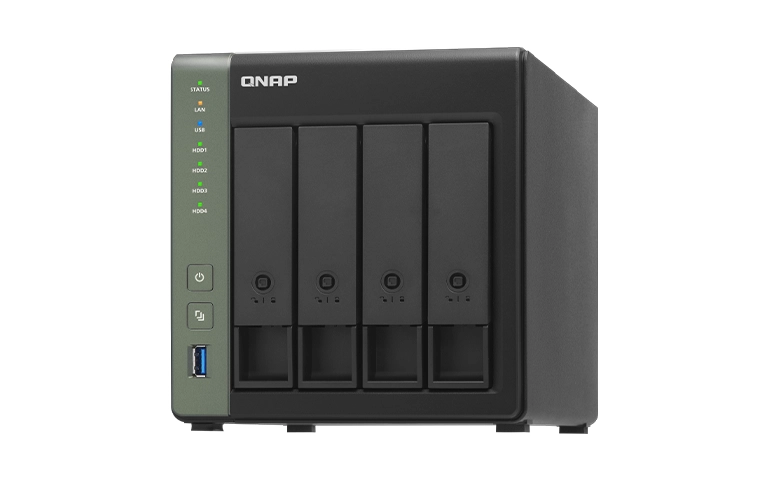
A digital creator from Manhattan reached out to us after experiencing a serious issue with his QNAP TS-431X3 4-Bay High-Speed NAS.
The device had served as the main storage system for his YouTube production files and backup footage. For nearly two years, it performed flawlessly, keeping his creative work safely stored.
After being powered off for six months, the NAS began producing clicking sounds when restarted.
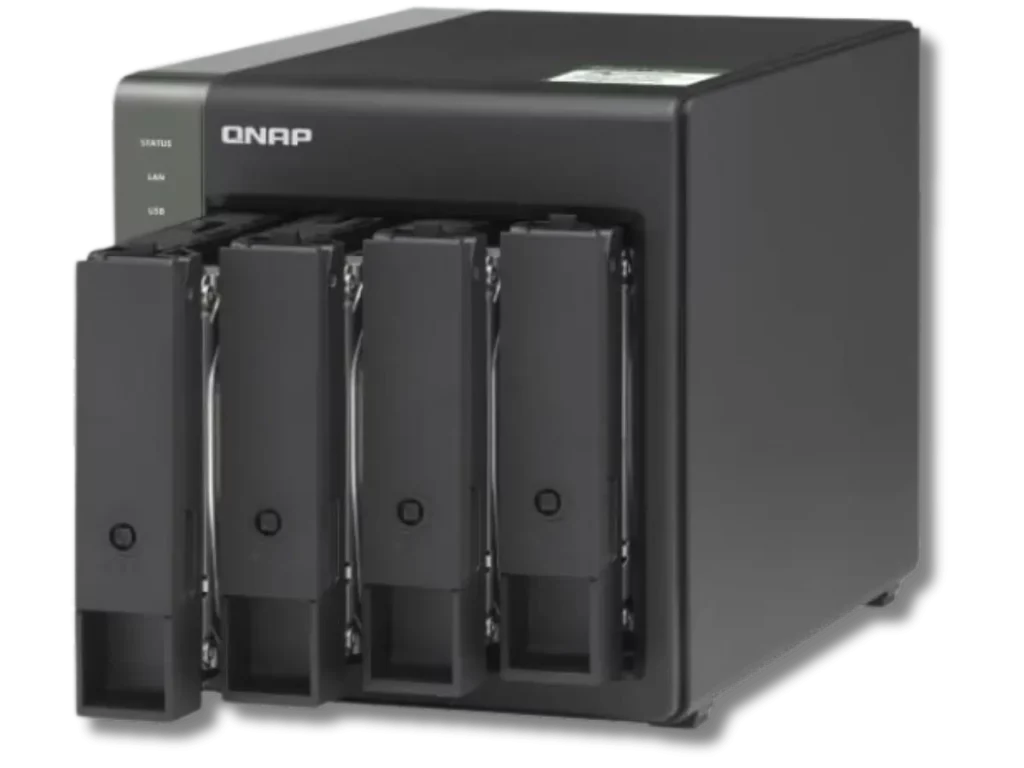
Concerned, the client checked the system status and discovered that drives 1 and 4 had failed, resulting in the loss of a large portion of his video archive.
These files were crucial for ongoing projects, making quick and secure data recovery essential.
Failed Drives and Early Troubleshooting Attempts
After noticing the clicking noises and failed drives, the client tried several troubleshooting steps to recover his files.
He restarted the NAS, checked the system logs, and attempted to rebuild the array using QNAP’s built-in utilities.
Despite his efforts, the NAS remained inaccessible, and the drives continued to report read errors.
Like many users, he hoped basic repair methods could restore access to his files.
However, without specialized tools, these actions could not repair the underlying hardware issues. Realizing that further attempts might cause permanent data loss, he decided to stop all activity and contact RAID Recovery Services for professional help.
For more information on what typically causes multi-drive NAS failures, visit Reasons for RAID Data Loss.
Device Shipment and Initial Assessment
After a detailed consultation, we provided the client with a prepaid shipping label to ensure the secure delivery of his damaged QNAP NAS to our laboratory. Once received, our engineers followed a structured evaluation process to determine the extent of the failure.
Our standard assessment process included:
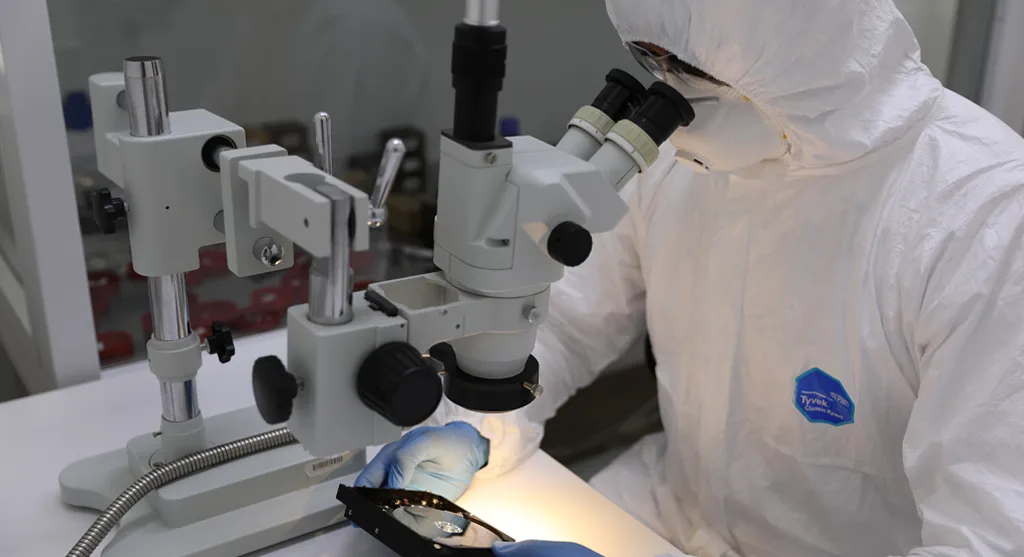
Physical inspection: Checking the NAS enclosure, drive connectors, and power components for signs of damage.
Drive testing: Evaluating all four drives individually to identify mechanical or electronic issues.
Imaging procedure: Creating bit-level copies of functional drives to prevent data loss during recovery.
RAID structure review: Examining parity distribution and disk order to confirm the correct configuration.
This assessment confirmed that drives 1 and 4 had sustained severe physical damage, while drives 2 and 3 remained partially readable.
For additional insight into controller-related issues that can cause RAID malfunctions, read RAID Controller Failure Recovery.
Evaluation Findings and Identified Damage
During the diagnostic phase, our engineers confirmed that drives 1 and 4 had suffered significant mechanical damage.
The platters inside both drives were not spinning properly, which caused the clicking noises the client had heard. Further examination revealed deep scratches and numerous bad sectors on their magnetic surfaces, making data extraction impossible from these two drives.
Drives 2 and 3, while still operational, also contained minor bad sectors. Our team carefully imaged these drives to preserve every readable sector and transferred the images to our advanced recovery platform for analysis.
The combination of multiple drive failures and sector degradation made this a complex case, but our engineers developed a plan to reconstruct as much data as possible from the surviving drives.
To understand how physical or logical faults can disrupt RAID operations, explore Troubleshoot RAID Failure.
Professional QNAP Data Recovery Process
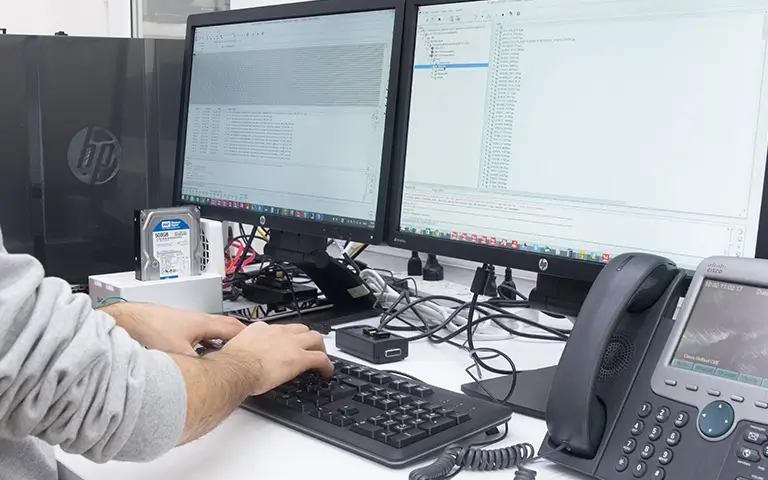
Once the evaluation was complete, our engineers began the recovery operation using a systematic, multi-step approach designed to protect data integrity throughout the process.
Steps in our recovery procedure:
Created verified clones of drives 2 and 3 to work only on copies and prevent additional damage.
Applied advanced read techniques to recover partially unreadable data sectors safely.
Analyzed QNAP’s RAID parameters, including stripe size and parity rotation, to virtually rebuild the array.
Retrieved and combined the available data from the cloned drives using specialized recovery tools.
Compared recovered files against parity data and verified logical consistency.
Although drives 1 and 4 were irreparable, this process allowed us to recover a large portion of the client’s essential video files.
For related examples of QNAP array reconstruction, visit QNAP RAID5 MDADM Failure Recovery and How to Repair Degraded RAID.
Results and Client Verification
After completing the data reconstruction process, our team successfully restored the majority of the client’s video library.
The recovered files maintained their original folder structure and naming convention, ensuring that the creator could resume his projects without disruption.
To confirm the recovery results, we organized a remote verification session through our secure server.
During the session, the client reviewed his files and verified that all crucial videos were intact and playable. The successful recovery provided complete relief, allowing him to continue producing content for his YouTube channel without losing months of work.
Following verification, the device was carefully repackaged and shipped back to the client with detailed handling instructions to prevent future data risks.
Fast turnaround times for business-critical data
Why Choose Professional QNAP NAS Recovery
Recovering data from a failed QNAP NAS requires precision, experience, and specialized equipment.
Attempting do-it-yourself recovery methods or repeatedly rebooting the device can worsen physical damage and reduce the chances of success.
Key reasons to rely on professional QNAP recovery services:
Safe handling of failed drives: Engineers use controlled environments and certified clean benches to prevent contamination.
Advanced imaging technology: Specialized hardware tools help recover data from drives with bad sectors or unstable heads.
Accurate RAID reconstruction: Professionals analyze parity rotation, disk order, and block mapping to rebuild arrays correctly.
Comprehensive verification: Every recovered file is tested for consistency before delivery to ensure data integrity.
Choosing experts ensures the best outcome, especially when dealing with multi-drive NAS systems. To understand why RAID arrays should not replace proper backups, read RAID Is Not Backup.
Restoring Your QNAP NAS Data Safely
At RAID Recovery Services, we understand that your NAS device holds valuable files that support your business, creativity, and daily workflow.
Our engineers specialize in recovering data from failed QNAP systems, using proven methods that prioritize both safety and accuracy.
Whether your NAS has failed drives, corrupted RAID structures, or unreadable file systems, our team can restore your data securely.
We handle every case with care, ensuring your device and information are protected from further damage during recovery.
If your QNAP NAS begins making unusual sounds or stops responding, disconnect it immediately and contact our specialists. Our experts are ready to assess your situation and guide you through each step of the NAS data recovery process.
Trust the experts with proven results
Frequently Asked Questions
What causes multiple drives to fail in a QNAP TS-431X3 NAS?
Multiple drive failures can occur due to extended downtime, power fluctuations, or aging components. In some cases, drives may seize or develop bad sectors when unused for long periods, leading to data inaccessibility once powered on again.
Can I fix a QNAP NAS that makes clicking sounds?
Clicking sounds usually indicate mechanical damage to the drive heads or platters. Restarting or reinitializing the NAS can make the situation worse. It is best to turn the device off and contact professional recovery engineers immediately.
How do professionals recover data from a QNAP NAS?
Specialists clone each drive, reconstruct the RAID configuration virtually, and extract files from the cloned images. This process ensures data safety and prevents further damage to the original drives during recovery.
How long does a QNAP NAS data recovery take?
Recovery time depends on the number of failed drives, the extent of damage, and array size. In most cases, evaluation and recovery can be completed within several business days.