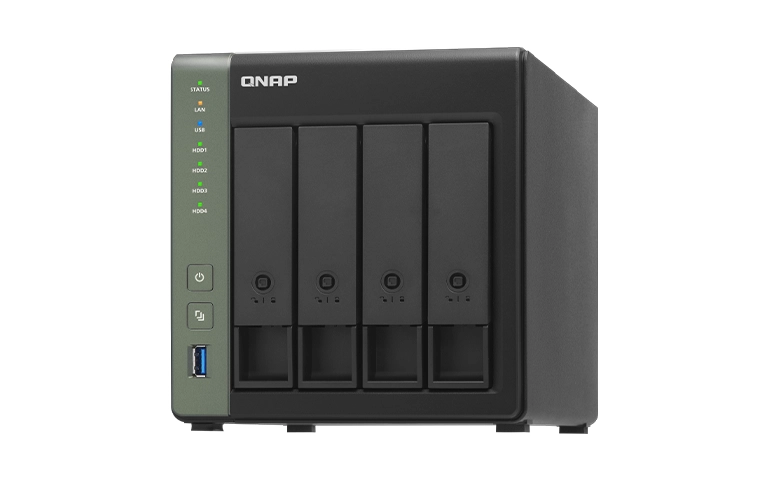
Upgrading your QNAP NAS from RAID 1 to RAID 5 helps increase storage capacity and improve efficiency.
While RAID 1 mirrors data for redundancy, it limits usable space. RAID 5 offers a balance between protection and capacity, making it ideal for users managing expanding storage needs.
However, migrating RAID types involves redistributing data across drives. Any interruption or error during this process can cause data loss. Preparing properly and understanding QNAP’s storage tools are essential for a smooth transition.
This guide explains how to migrate RAID 1 to RAID 5 safely and when to seek help from RAID Recovery Services if the process fails or data becomes inaccessible.
Understanding RAID 1 and RAID 5 on QNAP
Before starting the migration, it’s important to understand the difference between RAID 1 and RAID 5. Both offer data redundancy, but they differ in capacity, performance, and fault tolerance.
QNAP NAS systems allow you to manage these configurations through the Storage & Snapshot Manager, which provides real-time control and monitoring of your RAID setup.
RAID 5 gives you more usable space while maintaining protection against single-drive failure. It’s a practical upgrade for QNAP users looking to expand storage without losing redundancy.
Why Upgrade from RAID 1 to RAID 5
Migrating from RAID 1 to RAID 5 on your QNAP NAS provides several benefits for expanding storage capacity and improving performance.
While RAID 1 offers simple data mirroring, it limits usable space because half of your total capacity is used for redundancy. RAID 5, by comparison, distributes parity across drives, allowing you to store more data while maintaining protection against single-drive failure.
Performance is another major advantage of RAID 5. It delivers faster read speeds and balanced write performance, which is beneficial for handling large files and multiple data operations.
This makes RAID 5 a suitable choice for small businesses or professionals using their QNAP NAS for file sharing, virtualization, or backups.
Additionally, RAID 5 supports scalability, allowing you to expand the array by adding drives as your data needs grow. This flexibility provides long-term value and efficiency for evolving storage environments.
You can learn more about QNAP array performance in our post on QNAP vs Synology.
Preparing for QNAP RAID Migration
Before starting the migration, it’s essential to prepare your QNAP NAS and drives to minimize the risk of data loss. Proper preparation ensures a smooth and secure transition from RAID 1 to RAID 5.
Follow these preparation steps:
Back Up Your Data: Always create a full backup of critical files to an external drive or cloud storage before making any changes.
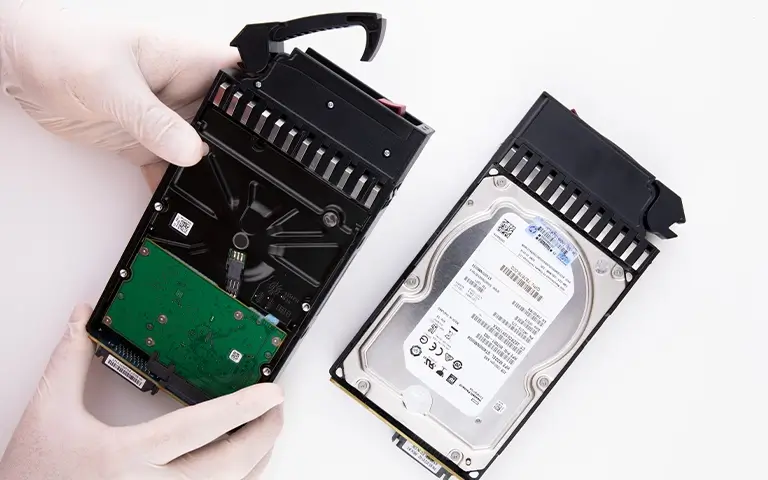
Check Drive Health: Inspect all drives through QNAP’s Storage & Snapshot Manager and replace any that show errors or bad sectors.
Verify Firmware Updates: Ensure your QNAP NAS runs the latest QTS or QuTS hero firmware to avoid compatibility issues during migration.
Use Identical Drives: For best results, use drives of the same size and model to maintain consistent performance.
Ensure Stable Power Supply: Keep your NAS connected to an uninterruptible power source to prevent data corruption during the migration.
Taking time to prepare will help prevent complications and make the migration process more reliable.
Fast turnaround times for business-critical data
Steps to Migrate RAID 1 to RAID 5 on QNAP NAS
QNAP NAS devices allow users to migrate RAID configurations directly through the Storage & Snapshot Manager interface. The process can take several hours depending on drive size and system performance, so ensure your NAS remains powered throughout the operation.
Follow these steps carefully:
Log in to your QTS or QuTS hero interface using an administrator account.
Go to Storage & Snapshots and select the volume currently configured as RAID 1.
Choose the option to migrate and select RAID 5 as the target configuration.
Insert one or more identical drives into available bays. The system will detect them and list them as available for expansion.
Confirm the changes. QNAP will begin redistributing data and creating parity across all drives.
Track migration status in the Storage Manager. Avoid shutting down or restarting the NAS until completion.
Once finished, check that your files and shared folders are accessible and confirm RAID 5 status under Storage Pools.
If the process fails, or if drives become unrecognized during migration, it may indicate a controller or synchronization problem. In such cases, avoid retrying the migration and contact professionals.
Our detailed post on how to repair degraded RAID explains how improper rebuilds can cause permanent data loss.
Common Issues During RAID Migration
Even with preparation, RAID migration can fail due to hardware or system errors. Knowing what to expect helps you protect your data.
Typical issues include:
Drive not detected: Caused by faulty connections, incompatible models, or outdated firmware.
Interrupted migration: Power loss or system crash can stop the process and leave data incomplete.
Rebuild errors: Weak sectors or corrupted parity may cause rebuild failures.
Controller issues: A damaged or unstable controller can disrupt migration and RAID recognition.
If any of these problems occur, avoid reinitializing or rebuilding the array. Doing so can overwrite existing data. Learn more in our guide on failed QNAP QTS hero NAS recovery.
Professional Help for Failed QNAP RAID Migrations
If your RAID migration fails or the array becomes inaccessible, it’s important not to continue troubleshooting on your own. Each additional action, such as forced rebuilds or manual configuration changes, can overwrite data and make recovery more complex.
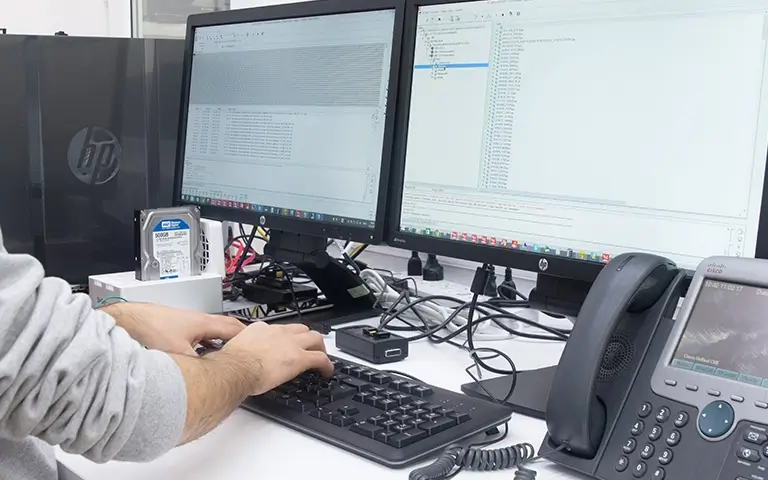
Professional engineers use specialized imaging tools and advanced analysis methods to recover data from QNAP systems affected by migration errors or failed rebuilds.
At RAID Recovery Services, we handle cases involving parity corruption, failed expansions, and unrecognized drives. Our cleanroom facilities and precise recovery process ensure that your data is retrieved safely without further damage.
For more examples of complex QNAP array recovery, visit our detailed case on QNAP RAID 5 mdadm failure recovery. Our team can analyze the system, rebuild the array virtually, and restore critical files with minimal downtime.

Conclusion
Migrating from RAID 1 to RAID 5 on your QNAP NAS is an effective way to expand storage while maintaining data protection. With careful preparation and attention to each step, you can complete the migration safely and benefit from improved performance and capacity.
However, the process carries risks if drives fail or the migration is interrupted. Always create backups and avoid restarting or reconfiguring the array during migration. If your QNAP NAS becomes unresponsive or data disappears, seek help from professional engineers.
At RAID Recovery Services, we specialize in rebuilding failed QNAP arrays and restoring lost data with precision and care.
Contact our team to discuss your case and ensure a secure path to full data recovery.
Trust the experts with proven results
Frequently Asked Questions
Can I migrate RAID 1 to RAID 5 without losing data?
Yes, QNAP allows RAID 1 to RAID 5 migration while retaining data, but it’s not risk-free. Always back up your files before starting to prevent permanent loss in case of failure.
How long does a QNAP RAID migration take?
The duration depends on drive size, system performance, and total data volume. On average, it can take several hours to a full day to complete.
What should I do if the migration process stops or fails?
Stop all operations immediately. Avoid reinitializing or rebuilding the RAID, as it may overwrite data. Instead, contact recovery specialists to analyze the issue safely.
Can RAID Recovery Services restore failed QNAP arrays?
Yes. RAID Recovery Services can recover data from failed QNAP arrays affected by incomplete migrations, degraded volumes, or RAID rebuild errors. Our engineers use dedicated imaging and RAID reconstruction methods to restore data while protecting integrity.
How can I prevent future RAID migration issues?
Maintain regular backups, keep QNAP firmware updated, and monitor drive health through the Storage & Snapshot Manager. These practices help reduce the risk of future failures.