When a Synology NAS fails after a power outage, it can leave critical business or personal data suddenly out of reach. Many users assume their files are gone forever when the system no longer detects any RAID disks.
In most cases, the data still exists, but the challenge lies in accessing it safely without causing further loss.
In this real recovery case, our engineers at RAID Recovery Services helped a client who faced this exact issue.
Their Synology NAS shut down unexpectedly during a power interruption and would not recognize the drives afterward. What followed was a careful recovery process that revealed the cause of failure and restored every important file from the damaged device.
Case Overview
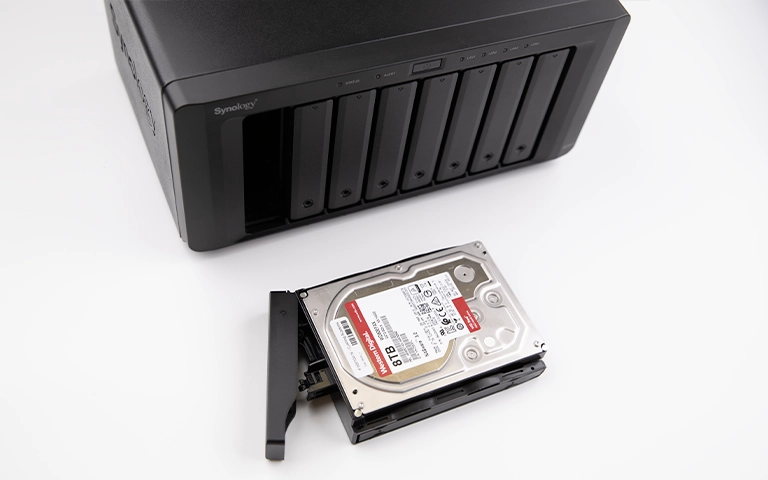
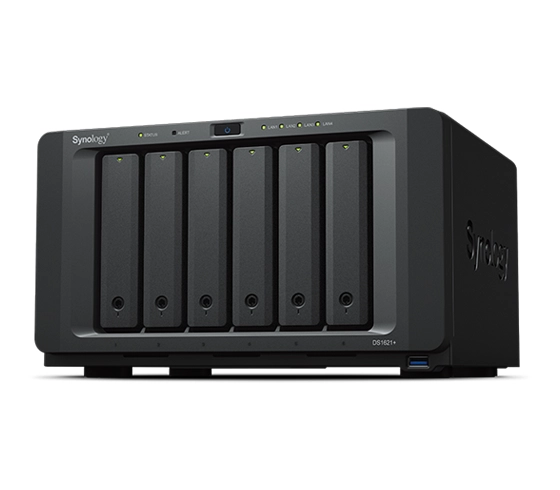
A client contacted our team after their Synology NAS stopped recognizing all connected RAID disks following a sudden power outage. The system failed to boot properly, showing no available volumes or detected drives.
This left the client unable to access important business documents, archived projects, and personal files that had been stored on the device.
Understanding the urgency of the situation, our data recovery engineers began by collecting detailed information about the NAS configuration and recent events that led to the failure.
The first objective was to determine whether the issue originated from the drives themselves or from internal NAS components. This initial evaluation would guide the next steps in safely recovering the client’s data.
Initial Diagnostic Process
Our engineers followed a structured diagnostic approach to identify the cause of the Synology NAS failure and assess data recoverability.
The team examined the NAS enclosure, power supply, and controller board for visible damage, burn marks, or dislodged connectors.
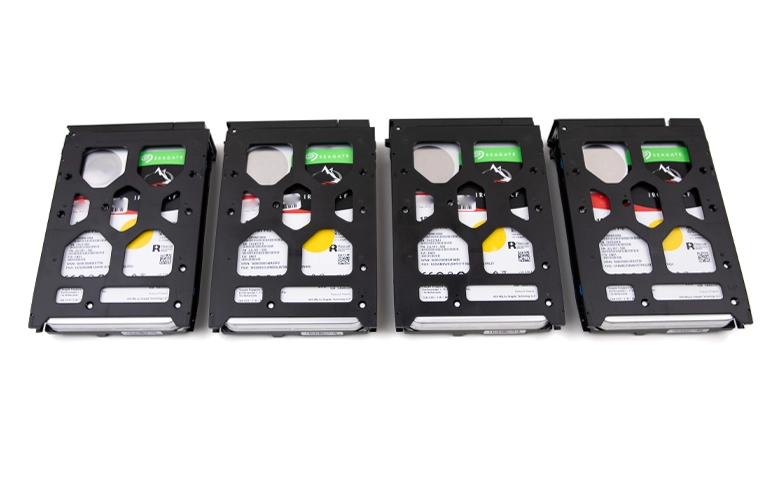
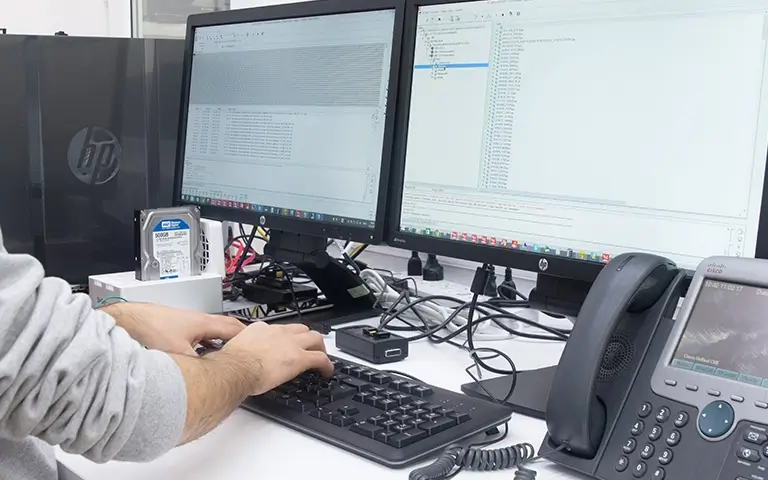
Each hard drive was carefully removed and tested individually using specialized imaging tools to verify mechanical health and SMART attributes.
Voltage levels were checked to confirm that the power outage had not caused inconsistent power delivery or further component damage.
Engineers inspected the NAS system board and controller circuitry for firmware issues or failure signs preventing disk detection.
All detected parameters, disk order, and RAID metadata were recorded before any further operation to ensure accurate reconstruction later.
This diagnostic process allowed our team to pinpoint the underlying cause and confirm that the drives were still intact, setting the stage for controlled data recovery.
Learn more about troubleshooting RAID failures.
Identifying the Root Cause
After completing the initial diagnostics, our engineers determined that the Synology NAS had suffered a failure in its RAID controller or main system board.
This hardware malfunction prevented the NAS from recognizing the drives, even though each drive was still in working condition and contained the client’s original data.
The power outage had disrupted the system’s ability to communicate with the drives, leaving the RAID configuration inaccessible.
Fortunately, the data itself was not lost, only the pathway to access it was damaged. Once this was confirmed, our engineers planned a controlled recovery that would allow safe access to the disks without relying on the failed NAS components.
See also: RAID controller failure recovery process.
Fast turnaround times for business-critical data
Advanced Recovery Techniques
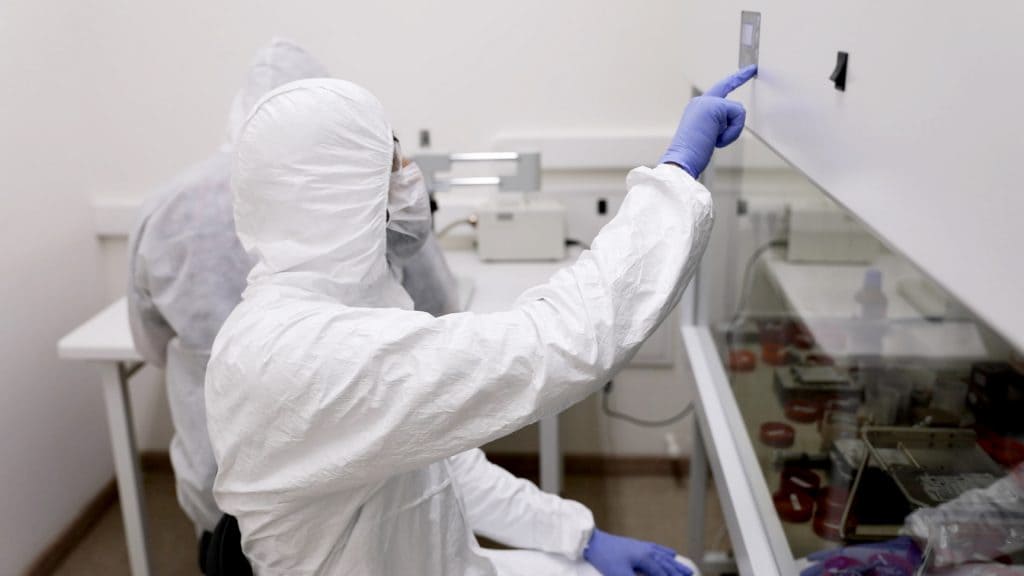
With the root cause identified, our engineers proceeded to recover the data directly from the drives while bypassing the failed NAS controller.
The process involved several specialized steps to ensure complete and secure data retrieval:
Drive Imaging: Each disk was cloned using professional imaging equipment to create exact sector-by-sector copies. This ensured that recovery work could continue on replicas, protecting the original drives from any risk.
RAID Parameter Analysis: Using the metadata from each image, the team reconstructed the original RAID configuration. This included analyzing stripe size, drive order, and parity information to rebuild the array virtually.
File System Repair: The reconstructed volume was scanned for file system inconsistencies caused by the abrupt power loss. Any corrupted structures were repaired carefully to restore logical access.
Data Extraction: Once the array was successfully rebuilt, engineers extracted the recovered data onto secure storage, verifying the integrity of each folder and file.
By combining deep technical expertise with precise imaging tools, our team was able to restore full access to the client’s data safely and efficiently.
Data Reconstruction and Verification
Once the data extraction phase was complete, our engineers began the careful process of reconstructing and verifying all recovered files.
Data Organization: The recovered data was structured to match the client’s original folder hierarchy, maintaining the same names and layout for easier navigation.
File Consistency Check: Advanced checksum verification tools were used to confirm that every recovered file was complete and free from corruption.
Cross-Verification: The reconstructed RAID volume was compared with pre-failure configuration data to ensure that no files or partitions were missing.
Customer Review: Before final delivery, the client was given secure remote access to review the restored files and confirm successful recovery.
This multi-step verification ensured that the recovered Synology NAS data was accurate, consistent, and ready for safe delivery to the client.
For more on this process, see our guide on NAS failure and recovery.
Key Takeaways and Prevention Tips
Recovering data from a failed Synology NAS after a power outage shows how critical proper diagnostics and professional handling are. Here are a few lessons and preventive steps that can help avoid similar issues:
Use an Uninterruptible Power Supply (UPS): Always connect your NAS to a UPS to prevent sudden power cuts that may corrupt RAID configurations or damage controllers.
Perform Regular Backups: Keep offsite or cloud backups of essential data to ensure recovery options even if the NAS becomes inaccessible.
Monitor NAS Health: Check system logs and drive health regularly using Synology’s built-in monitoring tools to detect early signs of component failure.
Avoid DIY Rebuilds: Rebuilding a RAID without professional evaluation can overwrite existing data. Always consult experts before performing rebuild operations.
Keep Firmware Updated: Update NAS firmware and drive controllers to prevent bugs or inconsistencies that may occur during unexpected shutdowns.
These simple measures can significantly reduce the risk of data loss and improve the reliability of any NAS system.
Explore our data loss prevention strategies.
Professional NAS Recovery Services
This case highlights how even a single power outage can render a reliable NAS system completely inaccessible. While it may seem like a hardware failure has erased everything, the data often remains intact within the drives.
Recovering it, however, requires specialized tools and the experience to reconstruct damaged RAID structures without risking further loss.
At RAID Recovery Services, we handle complex Synology and other NAS recovery cases with precision and care. Our engineers use advanced imaging, RAID reconstruction, and verification techniques to ensure the best possible outcome.
Whether your NAS has failed due to power loss, controller malfunction, or multiple drive errors, our team can help restore access to your critical files safely and efficiently.
If your NAS has stopped detecting drives or you are facing RAID-related data loss, contact RAID Recovery Services for a professional evaluation today.
Trust the experts with proven results
Frequently Asked Questions
Can data be recovered from a Synology NAS that stopped detecting drives?
Yes. In most cases, the data remains intact on the drives even if the NAS cannot detect them. A professional recovery service can rebuild the RAID configuration and extract the files safely.
What causes a Synology NAS to fail after a power outage?
Power interruptions can damage the NAS controller or corrupt RAID metadata. When this happens, the device cannot communicate with the drives, even though the data itself is often still present.
Should I try to rebuild my Synology RAID myself?
It is not recommended. Rebuilding the array without imaging the drives first can overwrite existing data and make recovery impossible. Always consult experts before performing any rebuild operation.
How long does Synology NAS data recovery take?
The duration depends on the number of drives, total capacity, and failure complexity. Most cases are completed within a few days once diagnostics confirm the drives are healthy.
What should I do if my Synology NAS fails to start?
Power down the NAS immediately, label each drive, and contact a professional recovery team. Avoid multiple restart attempts, as they can worsen corruption or damage the drives further.