When a RAID array fails, time and decisions matter. This guide will walk you through safe, step-by-step troubleshooting for RAID failures, helping you understand the issue without risking your data.
Whether you’re facing a degraded RAID 5, a NAS system that won’t boot, or multiple failed drives, this guide can help you assess the situation before taking action.
For learning more about safely diagnosing NAS issues, you can read our detailed guide on What to Do When NAS Fails.
Common RAID Failure Symptoms
RAID volume is missing or not mounting
System won’t boot or shows “No boot device found”
Drives marked as “degraded” or “offline”
RAID utility shows “Array Failed”
Clicking, buzzing, or no-spin noise from drives
Files missing, corrupted, or unreadable
For a deeper look into what causes RAID degradation and how to respond safely, see our Degraded RAID Recovery Guide.
Step-by-Step RAID Troubleshooting Guide
These are general steps for observation and safe diagnosis. Do not make any changes unless you’re certain of the implications.
Step 1: Know Your RAID Level
Different RAID levels respond to failure differently:
RAID 1 can lose one drive
RAID 5 can lose one drive safely, more is critical
RAID 0 cannot tolerate any failure
Find this in your RAID utility or documentation.

Step 2: Power Down & Check Cables
Safely shut down your system
Unplug and re-seat SATA/SAS cables
Ensure all drives and power connections are firm
Sometimes what looks like a failure is just a loose cable.
Step 3: Listen to the Drives (If HDD-Based)
If your RAID uses traditional hard disk drives (HDDs), listen closely when powering up the system:
Normal sounds: a brief spin-up or quiet humming
Abnormal sounds: repeated clicking, ticking, buzzing, grinding, or silence
If you hear abnormal noises, stop immediately. This could indicate a mechanical failure such as head crash or spindle seizure. Continuing operation may worsen the damage.
For a detailed breakdown of what clicking and other abnormal drive noises mean, refer to our guide on Clicking Hard Drive.
Step 4: Enter RAID Controller Utility
Access your RAID controller BIOS (LSI, Dell PERC, Intel RST, etc.) by pressing a hotkey during boot (often Ctrl+R, Ctrl+I, etc.). Observe only:
Are all drives detected?
Which drive(s) are showing as “Failed” or “Missing”?
Is the array marked as “Degraded,” “Failed,” or “Ready”?
Do not rebuild or initialize here; instead, document the situation.
To learn about identifying issues with RAID controllers, read our post on Recovering from a RAID Controller Failure.
Step 5: Stop if You See These Red Flags
Multiple drives failed
Drive showing “foreign configuration”
Disk order unknown
Clicking or grinding noises
These signs indicate a high risk of permanent loss if incorrect steps are taken.
Step 6: Backup Data (If Possible)
If the system boots and the RAID volume is still accessible:
Copy important data immediately
Avoid defragmenting or running disk repair tools
Do not reboot again unless necessary
Trust the experts with proven results
What NOT to Do
Avoid these common mistakes:
Do not rebuild the array if you’re unsure about drive order or RAID structure
Do not initialize or format any part of the RAID
Do not use third-party recovery software on a failing array
Do not run CHKDSK or fsck on degraded arrays
Do not clone drives without hardware-based imaging tools
These actions can worsen the damage beyond recovery.
When to Call a Professional
You should stop and contact a RAID recovery expert immediately if:
More than one drive is degraded or failed
You’ve already attempted a rebuild without success
Data is mission-critical
You hear unusual sounds from the drives
You’ve received errors after virtualization loss or firmware bugs
Fast turnaround times for business-critical data
Why Choose RAID Recovery Services
We handle complex RAID recovery cases daily, including:
RAID 0, 1, 5, 6, 10, 50, 60, and nested arrays
Physical damage, failed rebuilds, and lost metadata
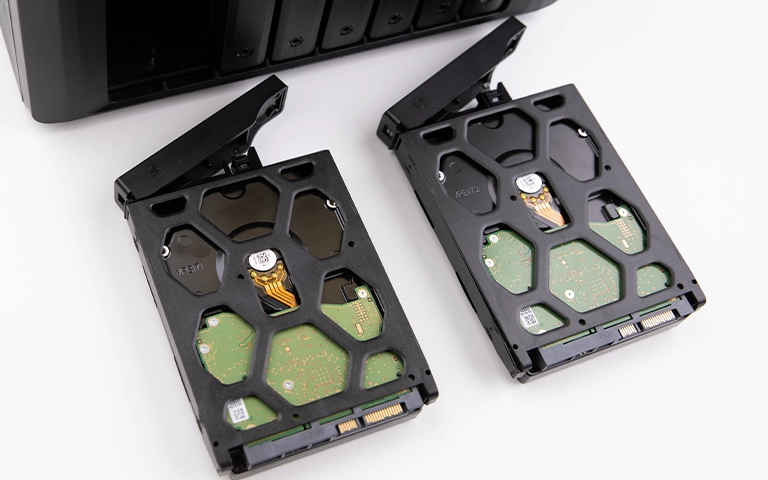
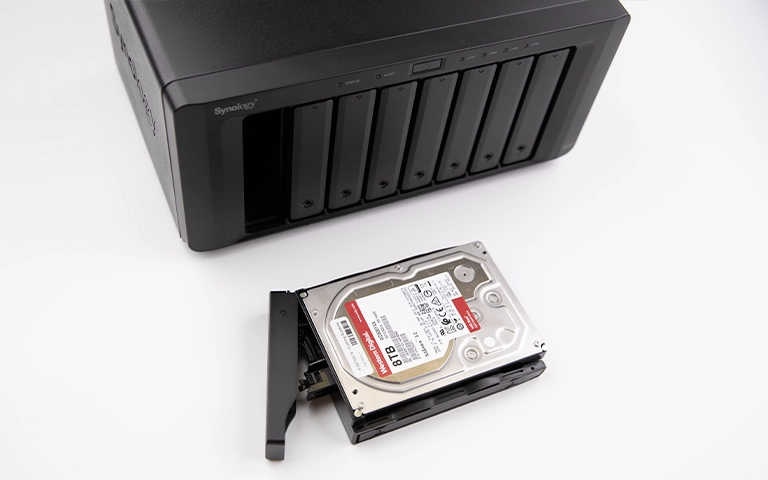
Server, NAS, and SAN failures (QNAP, Synology, Dell, HP, etc.)
Virtualized RAID arrays (VMware, Hyper-V, etc.)
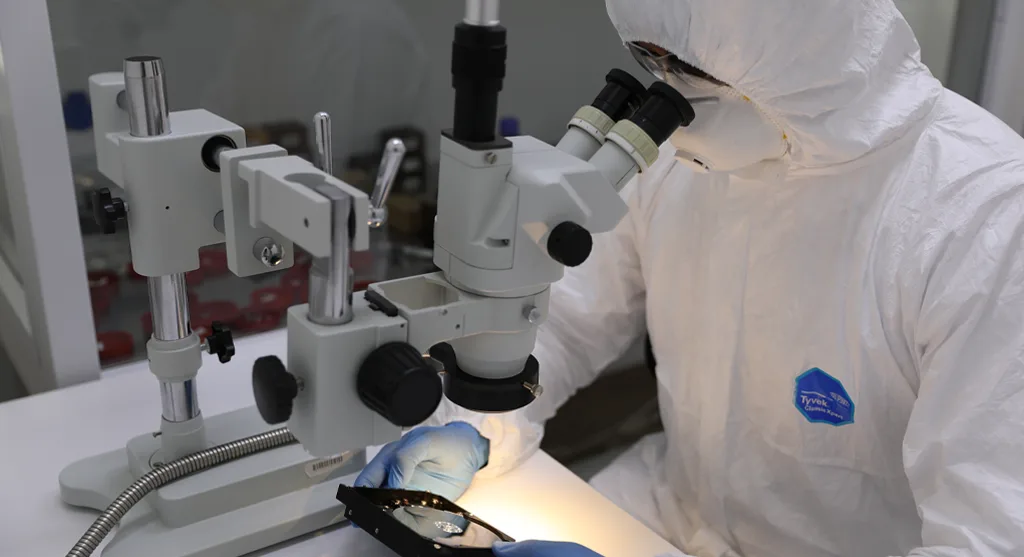
Our experts operate in ISO certified cleanrooms using custom imaging and reconstruction tools, which are unavailable through generic data recovery software.
If you’re unsure what to do next, contact us for free consultation. Acting quickly before any changes are made increases your chances of success.
Frequently Asked Questions
Can I rebuild my RAID if only one drive failed?
Only if you are certain about the correct drive and RAID configuration. Even a single mistake in drive order can destroy the array.
Can I use recovery software on my RAID?
No, unless the RAID is fully imaged, cloned, and rebuilt virtually. Software that writes to the array will compromise data integrity.
Is it possible to recover RAID after a failed rebuild?
Yes. We specialize in post-rebuild recovery. The sooner you stop attempts, the better the chances.
Do you recover RAID from NAS and virtual servers?
Absolutely. We recover data from QNAP, Synology, TrueNAS, and virtual environments including VMware ESXi and Hyper-V.