Running out of storage on your TerraMaster NAS can disrupt your workflow and limit performance. Whether you use it for business data, media storage, or backups, space eventually runs short. Fortunately, TerraMaster’s RAID technology allows you to expand your storage without replacing the entire system.
By adding a new hard drive to your RAID, you can increase capacity while maintaining the benefits of redundancy and performance. However, expanding a RAID is not as simple as inserting a new disk. The process involves rebuilding and synchronising data, which can put existing drives under stress. If done incorrectly, it may lead to data loss.
In this guide, you’ll learn how to safely add a hard drive to your RAID on TerraMaster NAS. We’ll walk through the preparation steps, the expansion process, and the potential risks you should be aware of. You’ll also discover when it’s best to rely on professional support to protect your data.
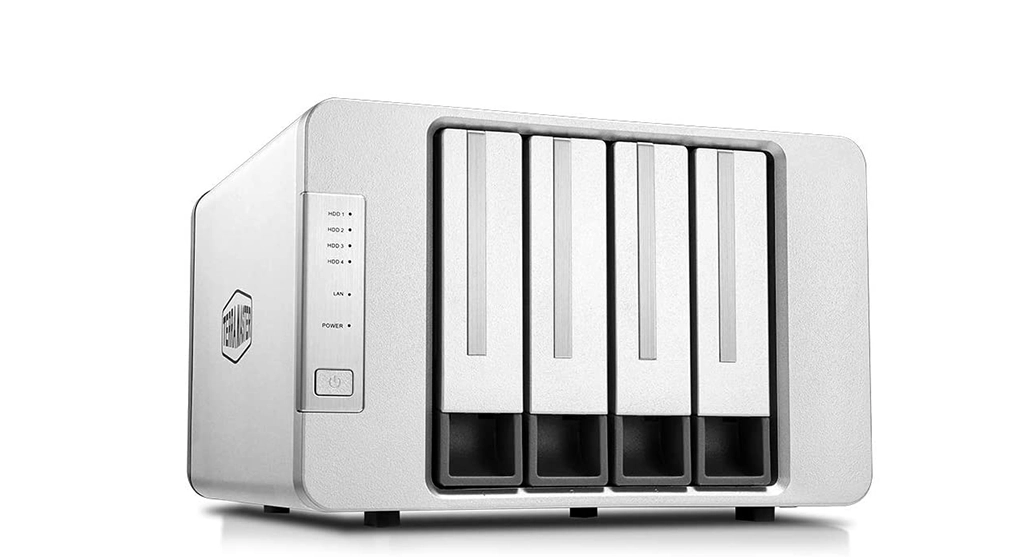
Running Out of Storage on Your TerraMaster NAS?
As your data grows, even the most spacious TerraMaster NAS setup can reach its limits. High-resolution videos, backups, and business files quickly consume storage capacity. Instead of replacing the entire system or migrating data to a new device, adding another hard drive to your RAID is often the most efficient solution.
Expanding your RAID allows you to continue using the same system while gaining additional space. This approach not only saves time but also reduces costs compared to purchasing new hardware. Still, the decision requires planning. From choosing the right drive size to ensuring your RAID level supports expansion, every step matters.
Read more about our TerraMaster Data Recovery Services if you experience issues during expansion.
Why Expanding RAID with a Hard Drive Is the Smarter Choice
When your storage fills up, you might think about replacing your NAS or moving data to an external drive. But expanding your existing RAID with a new hard drive is often the better decision. It gives you more space without starting from scratch.
By adding a hard drive, you keep your current setup intact while extending its life. You also avoid the hassle of data migration, which can be time-consuming and risky. For businesses, this means less downtime and no disruption to ongoing work.
Another benefit is cost. Buying a new NAS or server can be expensive. Expanding with a compatible hard drive is usually more affordable and lets you use the hardware you already trust.
How RAID Expansion Works on TerraMaster Systems
TerraMaster NAS devices run on their operating system called TOS. Within this system, you manage your storage using the Storage Manager. When you add a new hard drive, TOS allows you to expand the existing RAID volume.
The process works by rebuilding the array to include the new drive. Data is redistributed across all disks, giving you more capacity while keeping the redundancy of your chosen RAID level. The rebuild time depends on the RAID type, drive size, and system workload.
It is important to understand that expansion is not instant. During rebuilding, the system works harder, which can slow performance. If a drive fails during this time, data loss is possible. That is why preparation and monitoring are critical before you start.
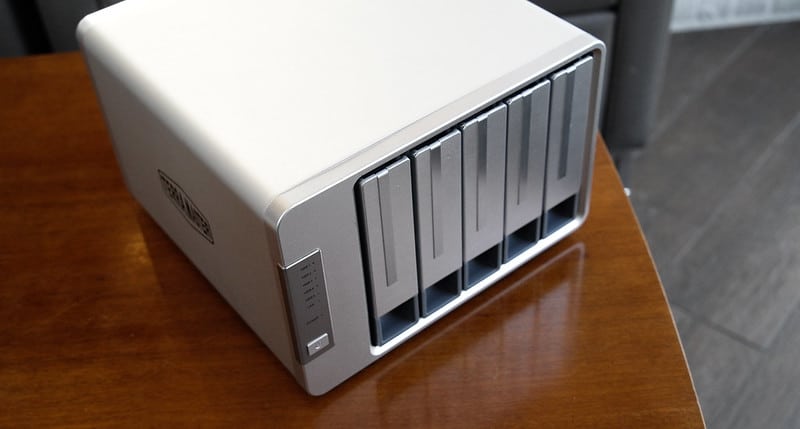
Checklist Before Adding a Hard Drive to RAID
Before you start the expansion process, preparation is essential. A few checks can prevent major issues later.
Back up your data. Even if the expansion should work safely, RAID is vulnerable during rebuilding.
Check your RAID level. Not every level supports expansion. RAID 0, for example, cannot be safely expanded.
Verify drive compatibility. Use a hard drive of the same type and speed. For best results, match capacity with the existing drives.
Confirm TOS support. Ensure your TerraMaster’s operating system version supports RAID expansion features.
Check system health. Review SMART reports for all current drives. If one is already failing, expansion can make the problem worse.
Doing these checks reduces the risk of data loss. It also makes the actual expansion smoother and more predictable.
Add a Hard Drive to RAID on TerraMaster: Step-by-Step
Once you are prepared, you can begin the expansion process through TerraMaster’s TOS interface. Follow these steps carefully:
Log in to TOS. Access your TerraMaster NAS through the web interface using your admin account.
Open Storage Manager. Go to Storage Pool or RAID Management, where all your arrays are listed.
Select your RAID volume. Choose the array you want to expand and confirm its status is “Healthy.”
Click Edit RAID. From the menu, select Add Hard Drive. This option appears only if your RAID level supports expansion.
Insert the new hard drive. Slide the drive into an available bay. TOS should automatically detect it.
Start the expansion. Confirm the process. The system begins synchronising data and redistributing it across all disks.
Monitor progress. Rebuild time depends on your RAID type and drive size. For example, RAID 5 with large drives may take 24–48 hours.
Avoid interruptions. Do not power down the NAS, remove drives, or overload the system with tasks during the rebuild.
Verify completion. Once finished, check that the RAID status is “Healthy” again and that new capacity is available.
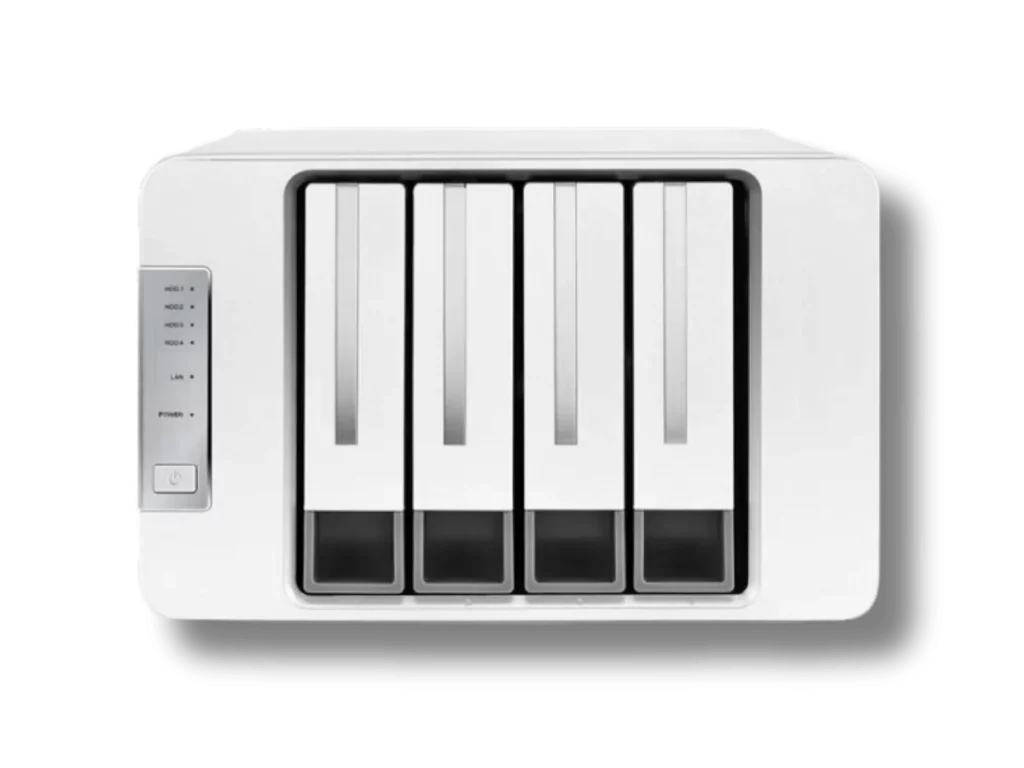
Pro Tips
Use drives certified for NAS workloads to ensure stability.
Connect your TerraMaster to a UPS to protect against power outages during rebuilding.
Keep checking system logs in TOS for any warnings or errors.
Fast turnaround times for business-critical data
The Risks of RAID Expansion You Should Be Aware Of
Expanding RAID on a TerraMaster NAS increases capacity, but it also carries risks you should understand before starting:
Extra strain on existing drives can trigger failures, especially if they are already ageing.
Rebuild times are long. Multi-terabyte arrays may take 24–48 hours or more.
Performance slows significantly during the rebuild process.
If a second drive fails before rebuilding completes, data loss can occur.
Power interruptions during expansion may corrupt the array. Using a UPS is strongly recommended.
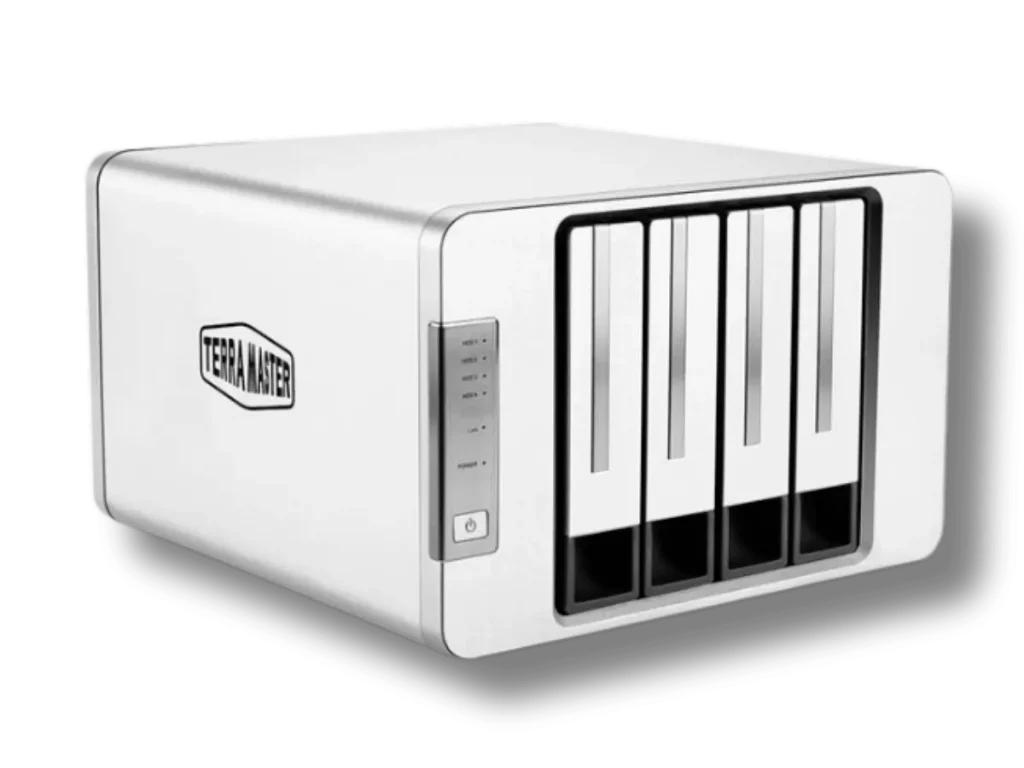
What to Do If RAID Expansion Fails
A failed expansion can be stressful, but acting carefully makes recovery more likely. Avoid retrying the process immediately. Instead, follow these steps:
Stop all writes to the NAS. Further activity may overwrite or damage data.
Check TOS logs for alerts such as “degraded array” or “missing disk.”
Identify the failing drive before making any changes.
Do not attempt another rebuild without addressing the issue.
Contact a professional data recovery service if the RAID holds critical data.
At Raid Recovery Services, we handle failed RAID expansions on TerraMaster systems and other NAS devices. Our engineers can safely rebuild arrays and recover files without further risk to your data.
Keeping Your TerraMaster RAID Healthy After Expansion
After expanding your RAID, maintenance becomes more important than ever. Adding capacity solves your storage problem, but it also increases the workload on the array. A few habits can keep your TerraMaster RAID stable in the long run:
Monitor drive health. Regularly check SMART reports in TOS for early signs of failure.
Schedule backups. Expansion is not a substitute for a proper backup strategy. Keep copies of critical data elsewhere.
Use NAS-grade drives. These drives are designed for 24/7 use and provide greater reliability.
Plan ahead. If you expect rapid data growth, consider reserving extra bays or planning future upgrades in advance.
Staying proactive ensures your RAID delivers reliable performance and minimises the risk of unexpected failures.
Safe Expansion and Reliable Recovery Options
Adding a hard drive to RAID on a TerraMaster NAS is an effective way to extend storage, but it comes with real risks. Preparation, monitoring, and patience are key to avoiding problems. Even with the right steps, expansion can fail, leaving your data vulnerable.
If your RAID does not rebuild successfully, Raid Recovery Services is here to help. Our team specialises in professional RAID recovery, ensuring data can be restored from failed arrays with speed and security.
Expanding RAID gives you flexibility and long-term value, but safety should always come first. Handle the process carefully, and if issues arise, rely on Raid Recovery Services to protect what matters most.
Check our RAID Data Recovery Services page for professional assistance with failed TerraMaster RAID expansions.

Trust the experts with proven results
Frequently Asked Questions
Can I add a hard drive to my TerraMaster RAID without losing data?
In many cases, yes. TerraMaster supports online RAID expansion for certain models. However, there is always a risk during expansion, so backups are strongly recommended.
How long does it take to expand a TerraMaster RAID?
Expansion time depends on RAID level, array size, and drive capacity. It can take several hours to days. During this time, system performance may be slower.
Do I need identical hard drives to expand a TerraMaster RAID?
Using drives of the same size and speed is recommended for best performance. Larger drives may work but will be limited to the capacity of the smallest drive in the array.
Can I use my TerraMaster NAS during RAID expansion?
Yes, but performance may be reduced. Heavy workloads should be avoided to prevent additional strain on the system while expansion is in progress.
What should I do if RAID expansion on my TerraMaster fails?
Stop further attempts immediately to avoid overwriting data. Contact RAID Recovery Services for professional help with recovering your array safely.