A degraded RAID array occurs when one or more drives within the system fail or no longer perform as expected. While configurations such as RAID 5 or RAID 6 are built to tolerate limited drive failures, operating in a degraded state significantly increases the risk of total data loss.
At RAID Recovery Services, we guide you through the correct steps to diagnose and repair a degraded RAID system without compromising your data integrity.
What Does “RAID Degraded” Mean?
A RAID becomes degraded when it loses redundancy because one or more drives have failed, gone offline, or stopped responding correctly. Although the array may continue to function temporarily, its performance will decline, and its resilience against further failures disappears.
Immediate action is critical, continued operation in this state can turn a manageable issue into permanent data loss.
Common Causes of RAID Degradation
Several issues can cause a RAID array to become degraded, including:
Physical failure of a hard drive or solid-state disk
Corrupted sectors or persistent disk errors
Loose, faulty, or damaged data cables
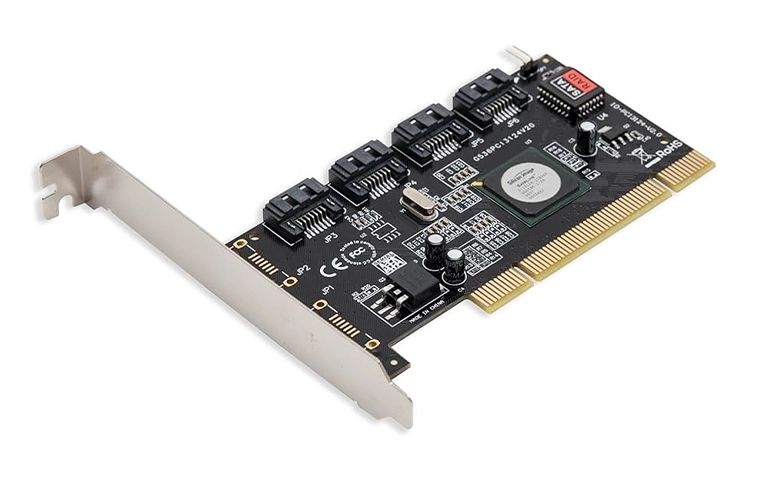
Controller faults or configuration errors
Improper shutdowns or electrical power surges
In many cases, RAID degradation originates from a controller-level issue rather than the drives themselves. Identifying whether the fault lies in hardware, firmware, or configuration is crucial before any repair is attempted.
Trust the experts with proven results
Important Considerations Before Repair
If your RAID system does not have a reliable backup or is part of a live production environment, you must prepare a clear contingency plan. Always ensure there is a secure method to restore data or restart the server if any issues occur during the repair process.
It is essential to understand that many IT professionals lack in-depth knowledge of RAID architecture. Attempting repairs based on generic online guidance can easily result in serious data loss. Industry studies show that around 60 percent of major RAID data loss incidents happen because of improper recovery attempts rather than the original hardware or software fault.
If your data is critical and you are uncertain about the next step, review our RAID data recovery services before attempting any repair independently.
If you have accurately diagnosed the cause of degradation, verified current backups, and developed a recovery plan, you may proceed with replacing the defective component with caution.
Unfortunately, we have also seen cases where even manufacturer support teams made incorrect decisions that led to overwritten RAID configurations and permanent data loss. To avoid such risks, contact RAID Recovery Services for a professional consultation before making any changes.
Immediate Actions to Take
- Do not reboot the system. Rebooting can automatically trigger a rebuild process, potentially overwriting critical data.
- Stop all data activity. Avoid writing new data to the array, as this can worsen corruption or reduce recovery potential.
Identify the failed drive. Use the RAID management interface or monitoring tools to locate the problematic disk. - Document every detail. Record drive positions, serial numbers, model information, error messages, and system logs.
- Create a backup immediately. If any data is still accessible, back up essential files before proceeding with repair.
Imaging Drives Before Making Changes
For maximum safety, always create complete images of all drives before making any physical or configuration changes.
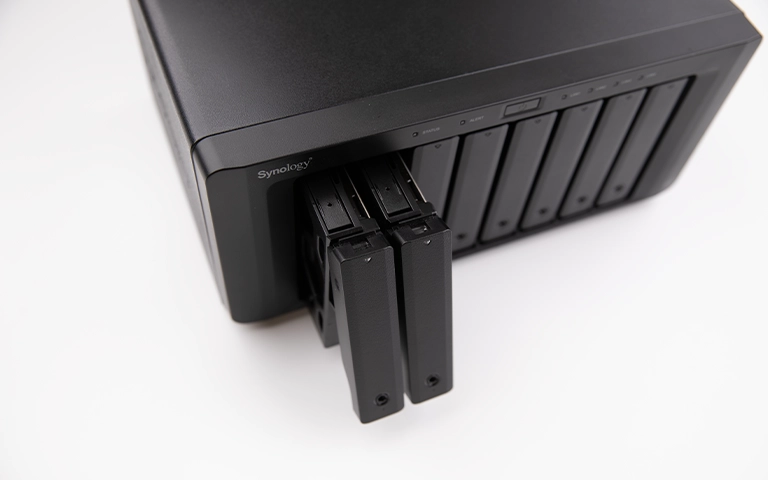
- Power down the server. Shut down the RAID system completely.
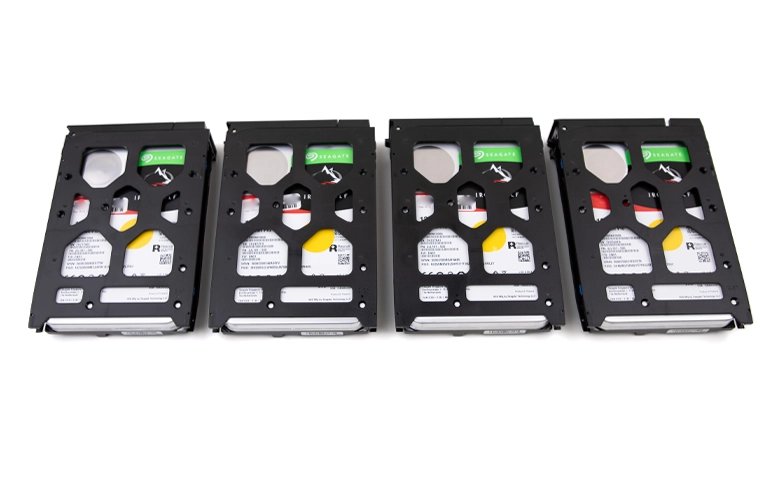
- Remove drives one by one. Carefully take out each drive and label it with its original slot position.
- Create forensic images. Use professional imaging software to perform sector-by-sector copies of each drive.
- Inspect for physical damage. If a drive shows signs of mechanical failure or produces read errors, stop immediately. Continuing may cause permanent data loss.
This process ensures that a secure backup of every drive exists, providing a recovery fallback if the repair process encounters unexpected complications.
Repair Options Based on RAID Level
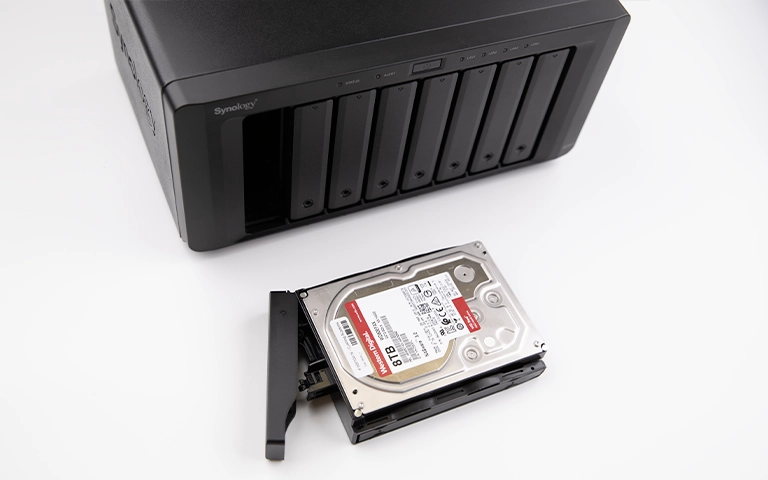
- Replace the defective drive with an identical model and capacity.
- Allow the RAID controller to automatically rebuild the mirror once the new drive is installed.
RAID 5 / RAID 6
- Replace only one faulty drive at a time and verify the health of all remaining disks before initiating a rebuild.
- Use the RAID management interface or manufacturer software to start the rebuild process.
- Never replace multiple drives simultaneously, as this can lead to complete data loss, particularly in RAID 5.
- Identify the specific degraded mirror pair and replace only the defective drive within that set.
- Rebuild the affected mirror to restore full redundancy and confirm parity consistency once completed.
Fast turnaround times for business-critical data
Using Software Tools
Always use RAID management utilities that are fully compatible with your controller and configuration. These tools allow you to monitor array status, verify drive health, and initiate controlled rebuilds where appropriate.
Common examples include:
Intel Rapid Storage Technology
MegaRAID Storage Manager
Adaptec Storage Manager
mdadm for Linux-based software RAID systems
When to Avoid DIY Repairs
Avoid performing do-it-yourself RAID repairs in the following situations:
You are unsure which drive has failed
More than one drive is showing errors or has dropped offline
No recent backups are available
The system uses a proprietary or hybrid RAID configuration
In these scenarios, seeking professional assistance is strongly advised. Attempting repairs without complete understanding can result in data being overwritten or permanently lost.
How RAID Recovery Services Can Help
Our specialists provide comprehensive solutions for all types of RAID systems, including:
Precise diagnostics to identify the exact cause of RAID failure
Non-destructive imaging and data protection prior to any repair
Virtual reconstruction of RAID configurations from failed or degraded arrays
Secure recovery from both physical and logical data loss scenarios
We work with all major RAID controllers and operating systems, offering reliable support for businesses and technical teams.
For expert consultation on handling a degraded RAID array safely and effectively, contact RAID Recovery Services today.

Final Tips
Always ensure replacement drives match the originals exactly in capacity, speed, and interface type.
Use reliable surge protection to prevent power-related failures and data corruption.
Keep RAID controller firmware and associated drivers regularly updated to maintain system stability.
Never initiate a rebuild unless you are absolutely certain which component has failed.
For a detailed explanation of why rebuilds can lead to irreversible data loss, read our guide on the risks of data loss during RAID rebuilds.
Frequently Asked Questions
Can I continue using a degraded RAID array?
No. Operating a degraded RAID greatly increases the risk of complete array failure. Immediate corrective action is essential to protect your data.
How long does a RAID rebuild usually take?
Rebuild times depend on the RAID level, disk size, and overall system performance. In most cases, it can take anywhere from several hours to multiple days.
What happens if the wrong drive is replaced during RAID recovery?
Replacing the incorrect drive can permanently destroy data and prevent successful recovery. Always confirm which drive has failed before removing or replacing any components.
Should I rebuild the RAID myself or contact a specialist?
If you are uncertain or lack professional recovery tools, contact a data recovery specialist. Attempting a rebuild without proper expertise can lead to irreversible data loss.