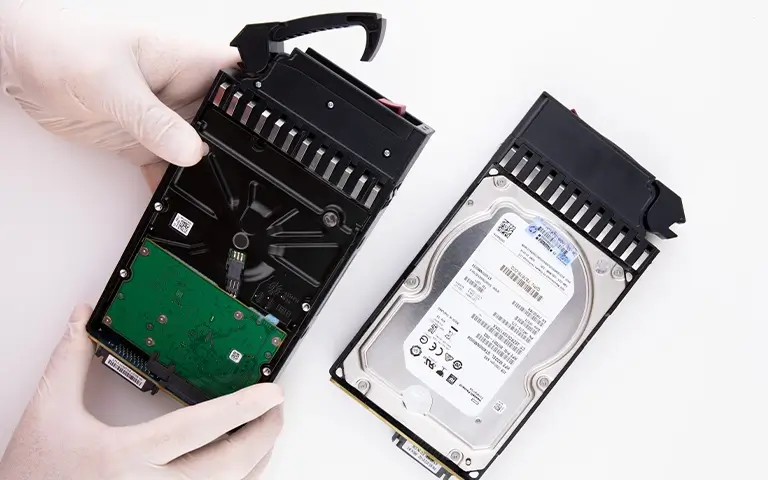
A client contacted our team after their server suddenly failed to recognize both hard drives from a RAID 1 array. The system, which stored important business data, displayed no accessible volumes during boot, leaving the user unable to reach critical files.
After discussing the situation, the customer requested an expedited evaluation to minimize downtime. The drives, both HPE 3R-A3845-AA 18.2 GB HDDs, were shipped to our lab for urgent diagnostics.
Upon arrival, our engineers at RAID Recovery Services began immediate assessment to determine the extent of damage and develop a recovery plan that could restore the lost data as quickly as possible.
Case Overview
The client’s setup consisted of two identical HPE 18.2 GB drives configured in a RAID 1 array. This RAID level relies on mirroring, where identical data is written to both drives to ensure redundancy and protect against single-drive failure.
Learn more about how this configuration works in our post on What Is RAID 1.
Over time, one of the drives began showing performance issues caused by continuous overloading. Unfortunately, the client postponed replacing it, assuming the mirrored structure would prevent any data loss.
However, both drives were purchased and operated under the same conditions, meaning their life cycles were nearly identical.
When the second drive failed shortly after, the server lost access to the mirrored data, leaving the system completely inoperable and the stored files unavailable. This simultaneous failure created a complex recovery challenge requiring physical repair and advanced data reconstruction.
Initial Evaluation Process
Our team followed a structured approach during the expedited evaluation to identify the issue quickly and safely:
Drive Inspection: The HPE drives were visually examined for any physical damage or contamination before diagnostics began.
Software Diagnostics: Each drive was tested using diagnostic tools, but neither was detected in the BIOS, pointing to a serious hardware failure.
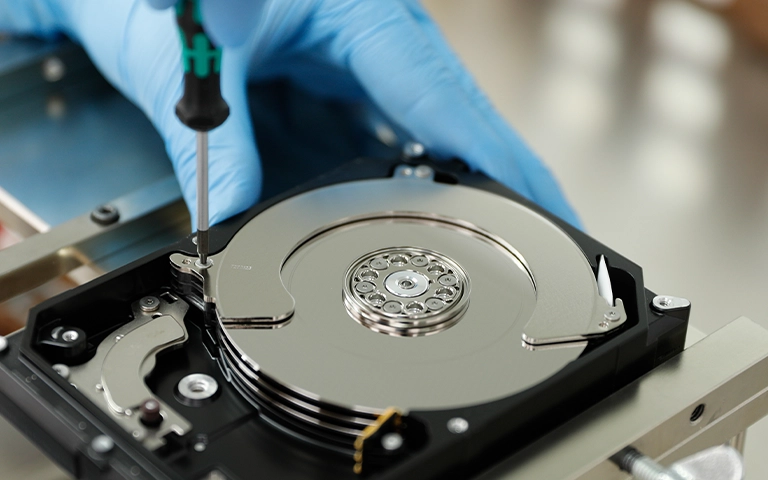
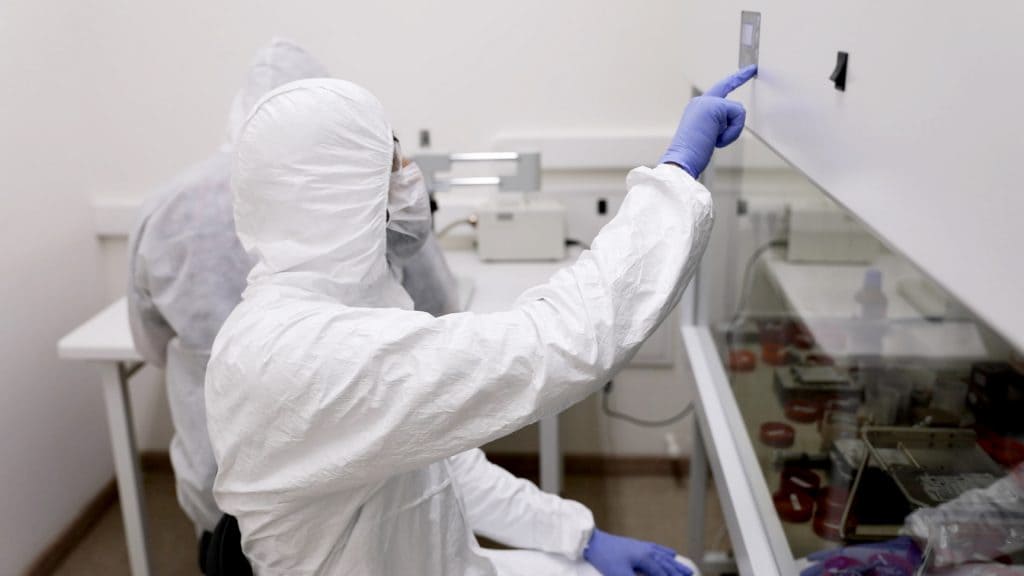
Cleanroom Transfer: The drives were taken to our ISO-certified cleanroom, ensuring a dust-free and controlled space for further inspection.
Component Evaluation: Inside the cleanroom, an engineer carefully examined internal components such as heads, platters, and the spindle motor to locate the cause of failure.
This systematic evaluation confirmed the need for mechanical repair before data extraction could begin.

Problem Diagnosis
During the cleanroom inspection, the engineer discovered that both hard drives had spindle motor damage, specifically in the hydraulic bearings. This type of issue often occurs when drives are continuously overloaded or kept running without proper maintenance.
Because of the spindle failure, the platters could not spin correctly, preventing the heads from reading any data. The damage also explained why the drives were not recognized by the system BIOS during initial tests.
Mechanical problems like this are common in heavily used or aging drives and may sometimes be accompanied by unusual noises before complete failure. For more information on how such symptoms develop, visit our article on Hard Drive Clicking Sound.
Identifying the damaged components early allowed our team to plan a precise recovery strategy using compatible donor parts.
Data Recovery Process
After confirming spindle motor failure, our engineers performed a detailed recovery procedure in several stages to restore the client’s mirrored RAID 1 data:
The faulty drives were opened inside the cleanroom to maintain a controlled environment throughout the recovery process.
The magnetic platters were carefully removed from the damaged drives and placed into donor drives with identical specifications to ensure stable rotation and reading.
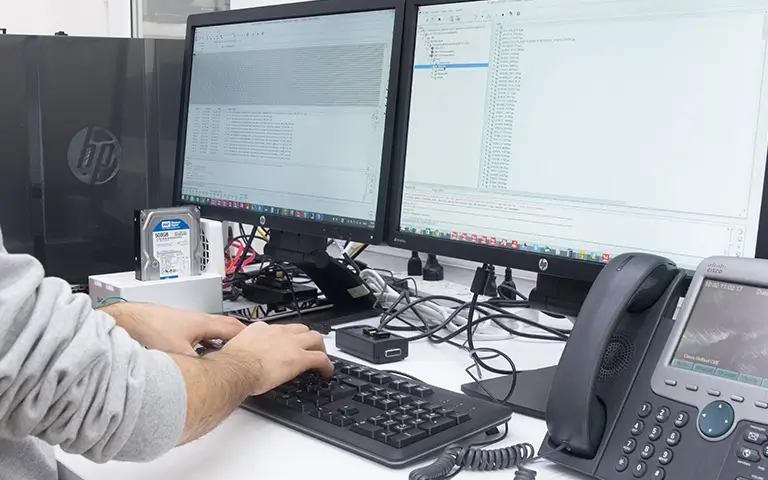
Once stabilized, the donor drives were imaged sector by sector to preserve all data from both mirrored disks.
Using diagnostic software, our engineers virtually rebuilt the RAID 1 array, aligning the data from both images for consistency. Accurate configuration was vital, similar to processes described in RAID Controller Failure Recovery.
Files were safely extracted, checked for integrity, and verified against the client’s expectations.
This careful, step-by-step approach ensured a successful and complete recovery without risking further data loss.
Results and Outcome
After completing the recovery procedures, our team provided the client with a full evaluation report that included the estimated recovery percentage and turnaround time. The client approved the plan, and data extraction began immediately.
Both drives were successfully imaged, and the RAID 1 array was reconstructed without any data loss. All files were restored, verified for integrity, and delivered to the client within the agreed timeframe.
This case demonstrated how even a mirrored RAID system can fail completely when aging drives are not replaced promptly. Thanks to the structured recovery process, the client regained full access to critical data and restored server functionality in less than 24 hours.
Fast turnaround times for business-critical data
Lessons Learned and Prevention Tips
This case highlights the importance of timely maintenance and drive monitoring in mirrored arrays. RAID 1 provides redundancy, but it cannot protect against simultaneous drive failure. To avoid similar issues, our engineers recommend the following:
Replace Drives Promptly: When one drive in a RAID 1 setup fails, replace it immediately to maintain redundancy.
Avoid Overloading Servers: Continuous strain on hardware shortens the lifespan of drives and components.
Monitor Drive Health: Use system monitoring tools to detect temperature spikes or performance drops early.
Schedule Regular Maintenance: Check server logs, update firmware, and perform periodic drive testing.
Implement Data Safety Practices: Follow proven strategies from our Data Loss Prevention guide to protect against hardware and human-related failures.
Taking these steps can greatly extend the reliability of RAID systems and prevent costly downtime.
Conclusion
The successful recovery of data from this failed RAID 1 system demonstrates how professional expertise and controlled handling can restore even severely damaged drives.
Despite both hard disks failing, our engineers managed to reconstruct the mirrored array and recover every critical file safely.
At RAID Recovery Services, we specialize in complex RAID failures involving physical and logical damage. Through precise diagnostics, cleanroom procedures, and secure recovery techniques, we help businesses regain access to their vital data with minimal downtime.
If your RAID 1 array or server has stopped responding, contact our team today for a professional evaluation and fast, reliable recovery assistance.
Trust the experts with proven results
Frequently Asked Questions
What caused the RAID 1 system to fail in this case?
Both drives failed due to constant overloading and aging components. Since they were installed at the same time, their lifespan ended almost simultaneously, leading to a complete RAID 1 failure.
Can data be recovered if both drives in a RAID 1 array fail?
Yes. Even if both drives fail, professional engineers can recover data by transferring the platters to donor drives and reconstructing the RAID array virtually, as done in this case.
How long does a RAID 1 recovery usually take?
The duration depends on the extent of physical damage and the capacity of the drives. Expedited evaluations can be completed in hours, while full recovery may take one to two days for severe failures.
What are common warning signs of a RAID 1 drive failure?
Slow performance, unusual noises, and read/write errors often indicate that one of the mirrored drives is failing. Addressing these signs early can prevent full system failure.
How can I prevent RAID 1 data loss in the future?
Replace failed drives immediately, monitor drive health regularly, and schedule preventive maintenance. It is also wise to follow structured backup practices and review our Data Loss Prevention guide for ongoing protection.