TerraMaster add hard drive procedures can significantly expand your storage space and enhance your data management capabilities. Whether you’re a seasoned IT professional or a casual user exploring the world of network-attached storage (NAS), adding a hard drive to your TerraMaster unit could be a game-changer.
This blog post aims to guide you through the process, making it as smooth and simple as possible while discussing various considerations to consider when undertaking this upgrade.
Preparation of Adding HDD to TerraMaster RAID
Before adding a hard drive to your TerraMaster RAID, you must ensure that you have all the necessary components and tools. These include: First, check that the hard drive is compatible with your TerraMaster RAID model. Additionally, make sure you have a screwdriver, as you’ll need it to secure the hard drive in place.
- A compatible hard drive: Depending on your TerraMaster model, you must check its compatibility with different HDD types and sizes.
- Appropriate screwdrivers: You may need to remove some panels on your TerraMaster unit, so having the right screwdriver will make the process easier.
- Anti-static wrist strap: Protecting your hard drive and other components from any static electricity that could damage them is crucial.
- Backup of data: Though adding a hard drive to RAID usually does not result in data loss, it is always better to be safe than sorry. Therefore, it is recommended to have a data backup before proceeding with the upgrade.
Check Applicable TNAS models
Check RAID Level Compatibility
Add a Hard Drive to TNAS RAID - Steps
Once you have all the necessary components and have checked compatibility, you can add a hard drive to your TerraMaster RAID. Here is a step-by-step guide:
Start by powering up your TNAS device and logging into the web interface.
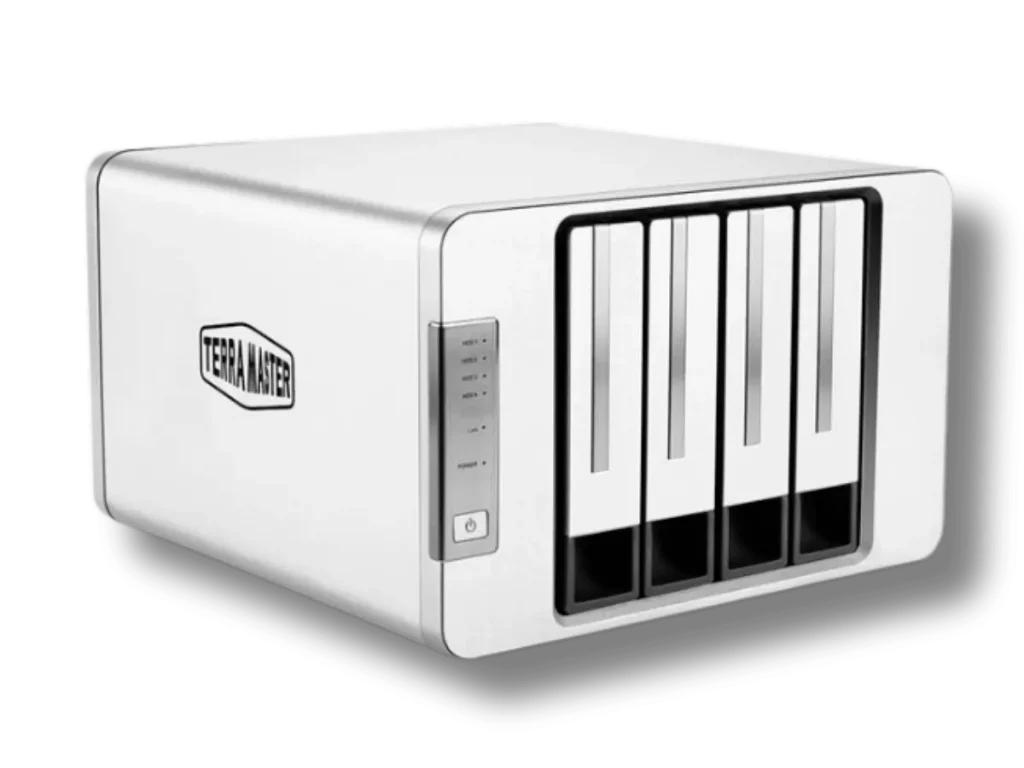
Add Hard Drive to TNAS enclosure. If your TerraMaster unit has a hot-swappable tray, proceed to step 6; otherwise, continue with step 3.
Power down the TNAS device and open the enclosure by removing any necessary panels.
Insert the new hard drive into an empty slot in the hot-swappable trays or designated HDD bays.
Power on the TNAS device and log back into the web interface.
Navigate to the TOS Control Panel.
Once you’re in the TOS Control Panel, select the ‘Storage Manager’.
In the Storage Manager, locate and click the ‘Storage Pool’ option.
Within the ‘Storage Pool,’ find the new hard drive you added. If it’s been correctly inserted and recognized, it should be listed here
Look for an option labeled ‘Add hard drives to RAID’ in the ‘Storage Pool’ section and select it.
A new window will appear, displaying the list of available hard drives. Locate and check the hard drive you have recently added.
Ensure all the information is correct and the hard drive functions properly. This step helps to verify that the TerraMaster RAID has successfully recognized the new hard drive and is ready for use.
Click on the ‘Volume’ section within the ‘Storage Manager’. Look for the new hard drive’s volume and select the ‘Edit’ option. This will open up a new window where you can adjust the settings related to your hard drive’s volume.
Here, you can increase the capacity of the volume to include the recently added hard drive. This operation will allocate the new hard drive’s storage space to the existing volume, expanding its capacity. Make sure to confirm all changes before closing the window. Your new hard drive is now fully integrated into your TerraMaster RAID system.
Considerations when Adding a Hard Drive to TerraMaster
While the process of adding a hard drive to your TerraMaster unit may seem straightforward, there are a few considerations you should keep in mind: Ensure the hard drive is compatible with your TerraMaster model. Also, remember to back up your data before starting the installation process to prevent any potential loss.

- Compatibility: As mentioned earlier, ensuring that the new hard drive is compatible with your TerraMaster model and the RAID level you’re using is essential.
- Storage Pool: When adding a new hard drive to your RAID system, adding it to an existing storage pool is recommended rather than creating a new one. This approach ensures better data management and avoids fragmentation of storage space.
- Data Backup: While the chances of experiencing data loss during this process are low, having a backup is always wise. It provides an extra layer of protection in case of any unforeseen circumstances.
- RAID Rebuilding: Once the new hard drive is integrated into the RAID system, rebuilding and redistributing data evenly across all drives may take some time. This process can take several hours, so it is important to be patient and avoid interrupting it.
Adding Hard Drive Failure
Adding a hard drive to your TerraMaster RAID system can greatly enhance your storage capacity and performance. However, it is crucial to undertake this process with an understanding of compatibility requirements, RAID rebuilding times, and the importance of data backup. It might lead to data loss if you encounter unexpected issues while adding a hard drive to your RAID system.
In such a case, don’t panic. RAID Recovery Services is there to assist you. With our vast experience in handling complex RAID recoveries, we can help retrieve your valuable data quickly and securely. Remember, successful data recovery requires expert knowledge and specialized equipment.
Frequently Asked Questions
Can I add more than one hard drive at a time to my TerraMaster RAID system?
No, adding only one hard drive at a time is recommended to ensure proper integration into the RAID system and prevent potential system errors or data corruption.
How long does rebuilding the RAID after adding a new hard drive take?
RAID rebuilding times can vary, but it can take several hours. It is important to be patient and avoid interrupting this process.
Do I need to back up my data before adding a new hard drive to the RAID?
Yes, even though data loss is relatively rare during this process, having a backup is a wise precaution to protect against unexpected issues.
What if I lose data during the process?
In case of data loss, you can contact RAID Recovery Services. They specialize in RAID recoveries and can help retrieve your data quickly and securely.