Every RAID setup promises a balance between performance and protection, but not all deliver the same reliability. Failure rates vary depending on the level you choose, the number of drives, and how the array is designed to handle disk loss. Understanding these differences is essential if you want your storage to remain dependable under pressure.
In this blog, we will break down the failure rates of RAID 0, 1, 5, 6, and 10. You will learn how each configuration responds to drive failures, which risks are most common, and what you can do to reduce them. This knowledge will help you make smarter decisions about safeguarding your data.
Why RAID Failure Rates Matter
A RAID array is designed to protect against data loss, but protection is not guaranteed. Each configuration has limits, and once those limits are exceeded, the array can fail. Knowing the failure rate helps you judge how much risk you are accepting.
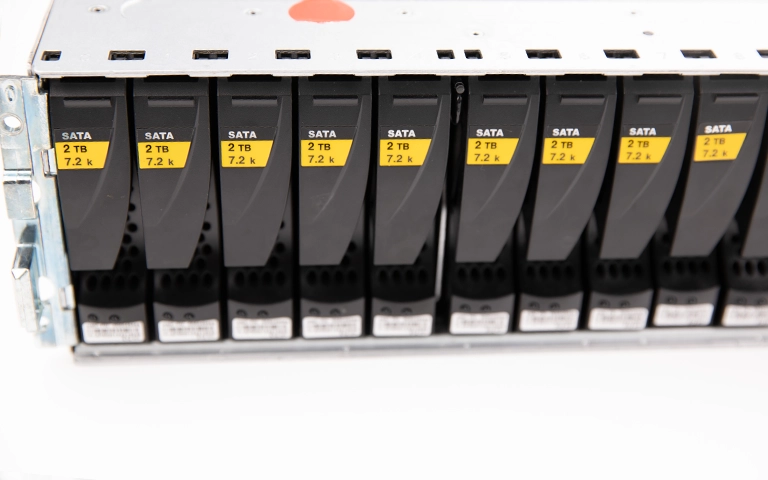
Failure rates become more critical as drive sizes grow. Larger disks take longer to rebuild, which increases the chance of another drive failing during the process. This can turn a single failure into a complete array loss.
By understanding these risks, you can choose a RAID level that fits your tolerance for downtime and data loss. It also prepares you to put safeguards in place before problems escalate.
RAID 0 Failure Rate
RAID 0 offers no redundancy. It stripes data across all drives, which improves performance and maximises usable space. However, if a single drive fails, the entire array fails, and all data is lost.
The failure rate in RAID 0 increases as you add more drives. Each additional drive introduces another potential point of failure, making the array less reliable overall. This is why RAID 0 is considered the riskiest option.
RAID 0 can be suitable for temporary or speed-focused tasks where data loss is not critical. For any environment where reliability matters, it should be avoided.
RAID 1 Failure Rate
RAID 1 uses mirroring to store identical copies of data on two or more drives. If one drive fails, the system can continue operating from the other copy. This makes RAID 1 far more reliable than RAID 0, especially for smaller arrays where protection is a priority.
Still, RAID 1 is not immune to issues. If both drives fail, or if data becomes corrupted, the array will fail. Capacity efficiency is also lower since half of the total storage is reserved for mirroring.
Key points about RAID 1 reliability:
Survives one drive failure without data loss
Higher reliability than parity-based RAID in small arrays
Limited usable capacity due to mirroring overhead
Fast turnaround times for business-critical data
RAID 5 Failure Rate
RAID 5 is one of the most popular RAID levels because it balances performance, capacity, and protection. It stripes data across multiple drives and uses parity to survive a single disk failure. For many years, this was the go-to choice for business storage.
The risk with RAID 5 comes during rebuilds. When a drive fails, the array must calculate missing data from parity. On today’s large drives, rebuilds can take many hours or even days. During this time, the system is vulnerable. If another drive fails, all data is lost.
Key points about RAID 5 reliability:
Survives only one drive failure
Rebuild times are long with high-capacity disks
Higher chance of total loss if a second drive fails during rebuild
RAID 6 Failure Rate
RAID 6 improves on RAID 5 by adding a second parity block. This design allows the array to keep working even if two drives fail at the same time. For large-capacity storage environments, this added protection is a major advantage.
The trade-off is longer rebuild times and reduced storage efficiency. Write performance is also slower because the system must calculate double parity. Still, RAID 6 is often considered the safer choice when data reliability is more important than speed.
Key points about RAID 6 reliability:
Survives two simultaneous drive failures
Longer rebuild times than RAID 5 due to double parity
Lower usable storage capacity compared to RAID 5
RAID 10 Failure Rate
RAID 10 combines mirroring and striping, giving you the performance benefits of RAID 0 with the redundancy of RAID 1. It can survive multiple drive failures as long as they are not both in the same mirrored pair. This makes RAID 10 one of the most reliable options for critical systems.
The main drawback is efficiency. Because half of the total drive capacity is used for mirroring, RAID 10 requires more disks than parity-based arrays. Despite this, it is often chosen for databases, virtualisation, and other workloads that demand both speed and protection.
Key points about RAID 10 reliability:
Can survive multiple drive failures depending on which disks fail
Offers strong reliability and performance together
Less storage efficiency since half the capacity is reserved for mirroring
Factors That Influence RAID Failure
The reliability of a RAID array is shaped by more than just the RAID level itself. Several technical and environmental factors affect how likely a failure will occur.
Drive capacity is one of the most important factors. Larger drives take longer to rebuild, increasing the chance of another failure during the process. The number of drives in the array also matters, because more disks mean more potential points of failure.
Other factors that influence RAID failure include:
Quality of the RAID controller and firmware
Workload intensity and continuous use
Heat, vibration, and environmental conditions
Age of the drives and overall hardware lifecycle
By considering these factors, you can better understand the real-world reliability of your RAID setup.
Trust the experts with proven results
Reducing RAID Failure Risks
While no RAID configuration is completely safe, you can take steps to lower the chances of data loss. A well-maintained array is far less likely to fail than one that is neglected until problems arise.
Best practices to reduce RAID failure risks:
Keep regular and verified backups outside the array
Monitor disk health with SMART tools or RAID management software
Replace ageing or suspect drives proactively
Use quality hardware and reliable RAID controllers
Ensure proper cooling and a stable power supply
Following these steps will not prevent every failure, but they will reduce the risk and shorten recovery time if problems occur. For mission-critical systems, it is always wise to have a professional recovery plan in place.

Conclusion and Professional Support
Failure rates differ across RAID levels, and no setup is entirely risk-free. RAID 0 offers speed but no protection, RAID 1 provides simple redundancy, RAID 5 balances efficiency with risk, RAID 6 improves fault tolerance, and RAID 10 combines speed with reliability. Choosing the right level depends on how much risk you can accept and how critical your data is.
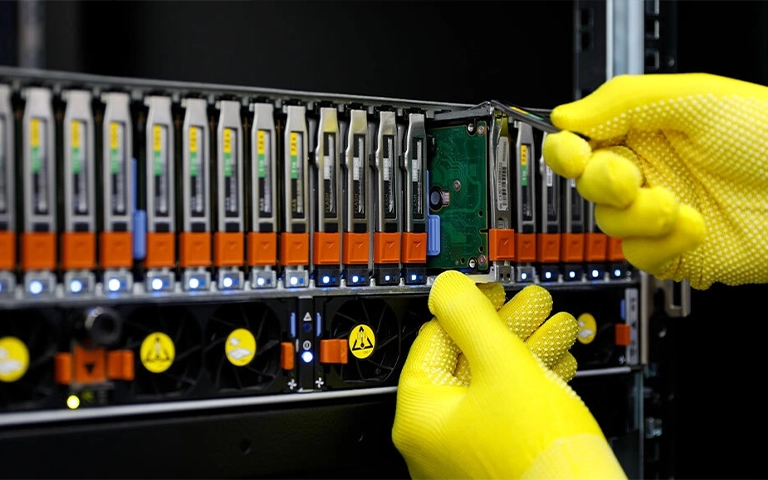
Even with the best planning, failures can still happen. When they do, attempting a fix on your own can make the situation worse.
At RAID Recovery Services, we specialise in restoring data from all RAID levels, including RAID 0, 1, 5, 6, and 10. Our engineers handle complex failures with care, helping you recover quickly and protect your operations.
Need expert help with a RAID issue? Contact RAID Recovery Services today for professional support and a clear path forward.